This guide will teach you how to layout and hang a picture wall, a decorative way to display your favorite photos and artwork. Learn from actor Michael Gross, step by step.
Picture this: The wall in your den or dining room just begs to display your extensive collection of movie posters, music memorabilia, or family photos … but you don’t want your wall to look like an old pub’s dartboard by the time you’re satisfied with the layout.
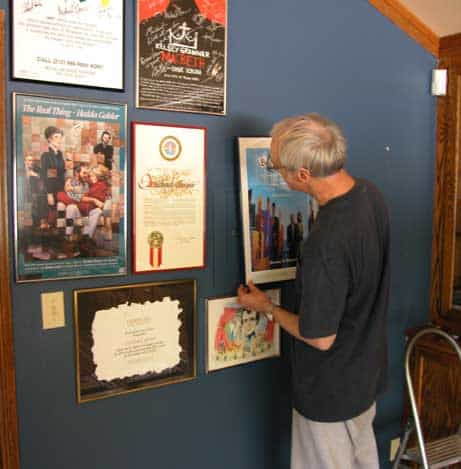
Actor Michael Gross of Family Ties, Tremors, and ER fame (and one of our favorite people), shows us a great way to solve this problem.
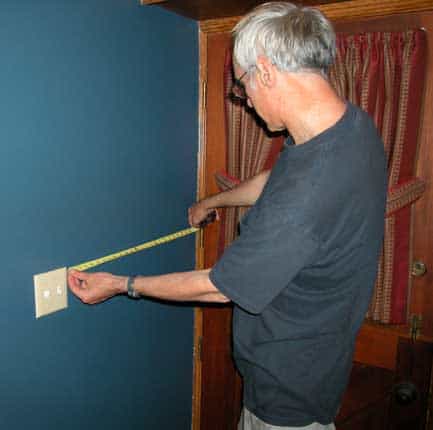
1. Take measurements of your wall, making note of any details such as switches, receptacle covers, and molding.
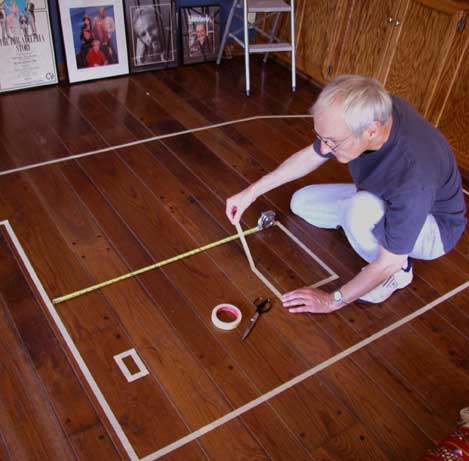
2. Transfer your wall’s dimensions to the floor, using strips of masking tape.
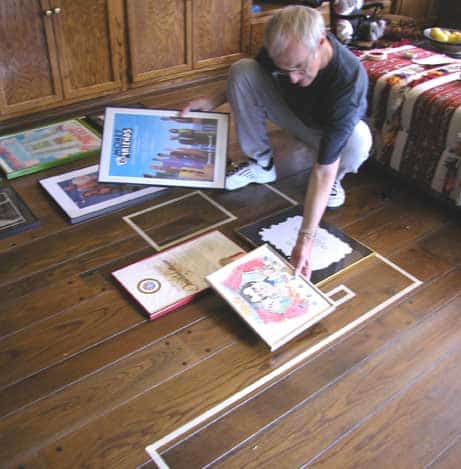
3. Arrange your framed pieces on the floor, making sure not to overlap any taped areas. This is where you see the beauty of this process, because the items can be moved, swapped, or adjusted without having to drill over and over into your wall. Once you’re happy with the layout of the frames, measure each frame’s orientation from its surrounding tape lines.
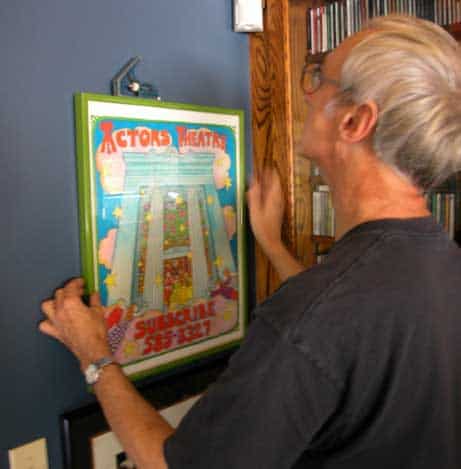
4. Move the art to the wall. Starting at the top of the wall, transfer measurements for each frame’s hanger from the tape lines on the floor.
5. Finally, to make sure each frame is hanging straight, use a small level and adjust the frame until the level’s bubble lies between its indicator lines.




 Don Vandervort writes or edits every article at HomeTips. Don has:
