This is an expert DIY guide about how to install a pedestal sink, taking you through installation with step-by-step instructions and helpful images.
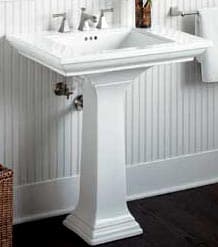
Pedestal sinks are made up of two parts: the sink and the pedestal (or base).
With most, the weight of the bowl isn’t carried entirely by the base; a bracket ties the bowl to the wall for additional support.
Just as with a wall-mounted sink, you’ll want to install blocking between wall studs to help provide that extra support.
Both wall-mounted and pedestal sinks come with the manufacturer’s installation instructions, which should be followed exactly, and with the materials necessary for making water-supply and drain connections. The faucet and valves are usually sold separately.
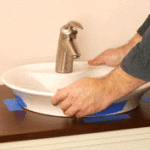
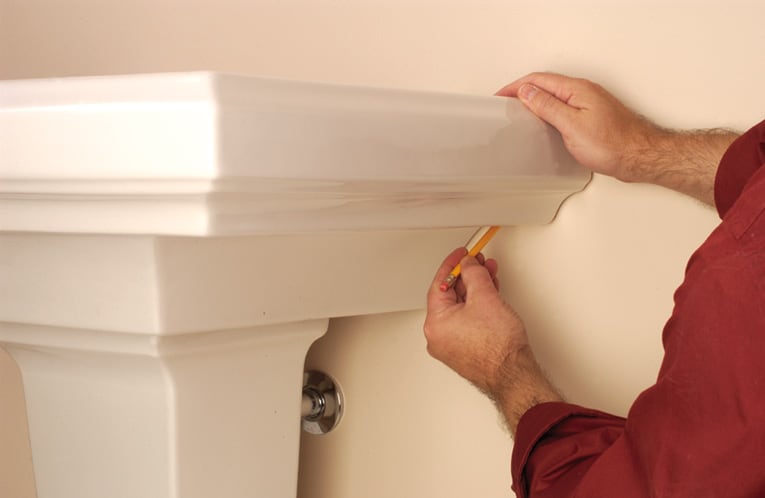
1 Place the lavatory and pedestal in the desired position. Level and square the assembly, then mark the mounting-hole locations on the wall and on the floor.
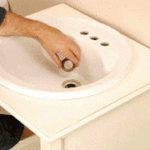
2 Drill pilot holes for the fasteners in the wall and floor. If you’re drilling tile, use a masonry bit, affixing a piece of tape on the areas to be drilled to keep the bit centered. Next, install the faucet and drain and pop-up assemblies on the sink (see step 3 of Install a Countertop Sink and steps 4, 5, and 6 of How to Install a Bathroom Faucet.
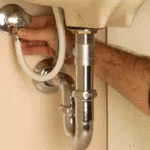
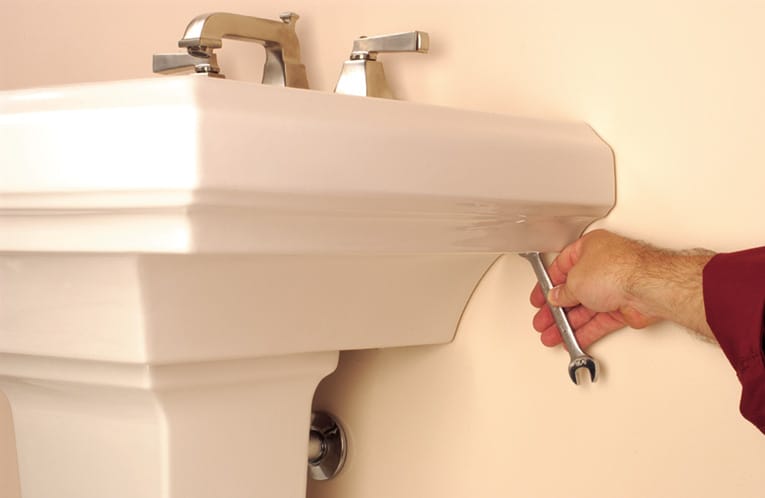
3 Secure the lavatory to the wall with lag screws or other supplied fasteners. Then connect the trap to the drain assembly. With some pedestal sinks, you must rest the bowl on the pedestal, positioned close to the wall, and then hook up the waste and supply lines before securing the bowl to the wall.
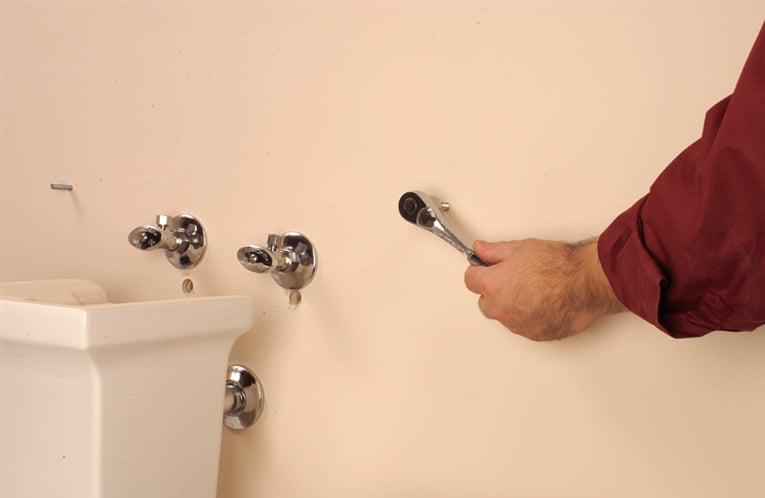
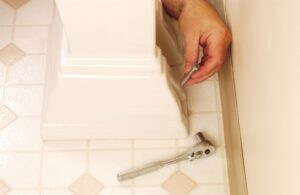
4 Once you’ve secured the bowl, drill a pair of pilot holes in the floor for the bolts that will secure the pedestal to the floor. The pedestal base typically has a pair of notches in the base for these fasteners. Be careful not to over-tighten the bolts as this can crack porcelain. If the sink has a nut or rod that connects it to the pedestal, secure the device. Connect the supply lines and install the pedestal.
Featured Resource: Get a Sink Installation & Plumbing Pro




 Don Vandervort writes or edits every article at HomeTips. Don has:
