These illustrated step-by-step techniques show you how to keep your refrigerator running efficiently by easily cleaning its condenser coils.
Cleaning Refrigerator Coils, Step by Step
Refrigerator Cleaning Video
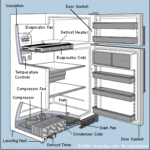
During a refrigerator’s cooling process, room air travels across refrigerant-filled tubing called the “coils” or “condenser coil” where heat is given off. Over time, dust from this flow of the room air collects on the coils. As the dust builds up, the coils become less effective at doing their job.
It’s important to clean the coils a couple of times each year to keep your refrigerator running efficiently and dependably. This is a relatively easy job, as explained below.
These instructions are for typical coils located behind a panel at the top or the base of the refrigerator. If you have a refrigerator with black coils mounted on the back, be advised that these coils do not require semi-annual cleaning.
Cleaning Refrigerator Coils, Step by Step
1 Unplug your refrigerator or turn it off at the circuit breaker that delivers electrical power to it.
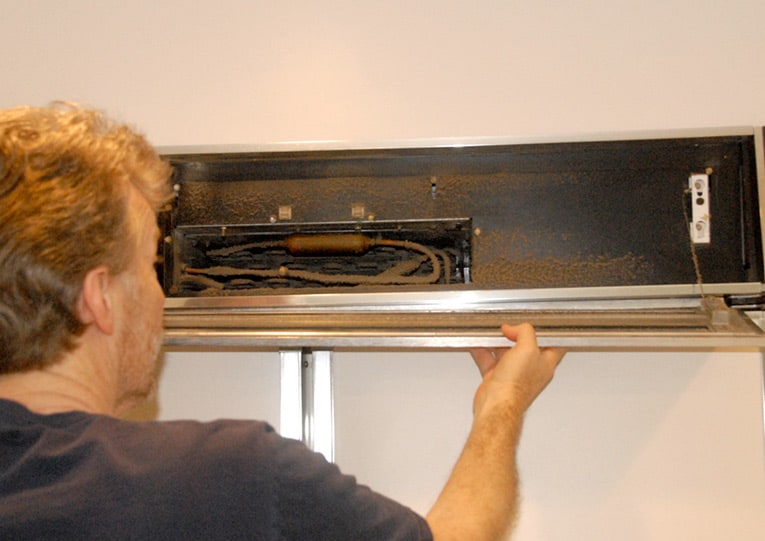
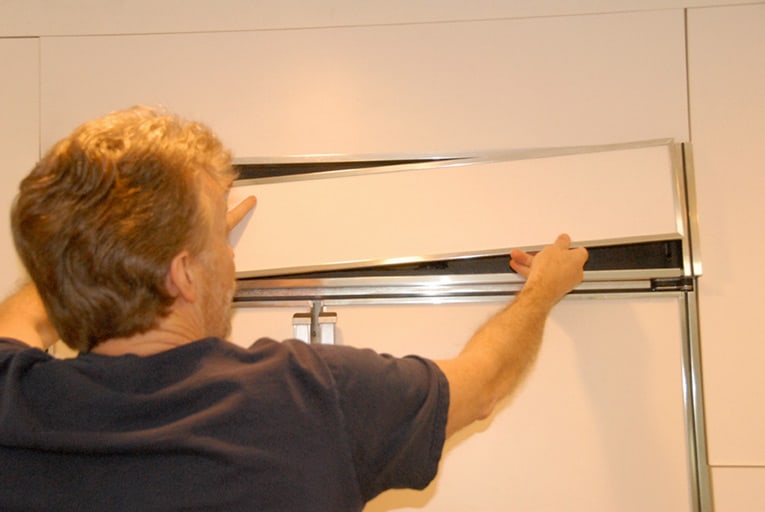
2 Remove the cover panel to reveal the coils and cooling fins. On most models, the kick plate or top trim plate simply lifts off.
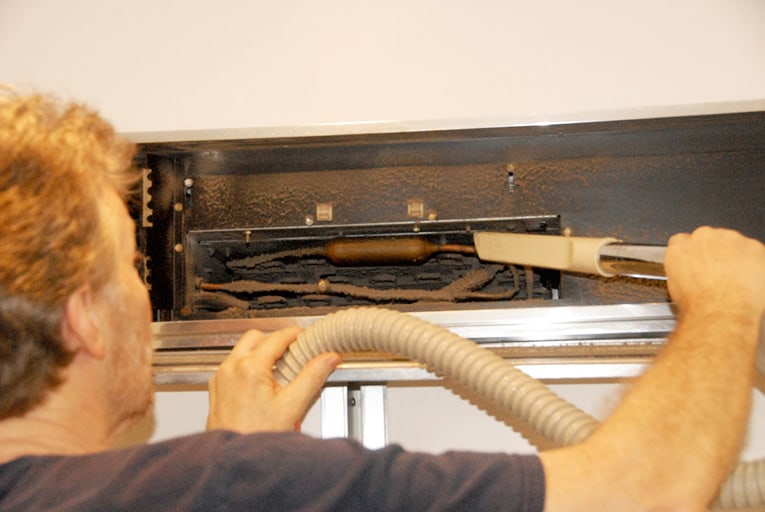
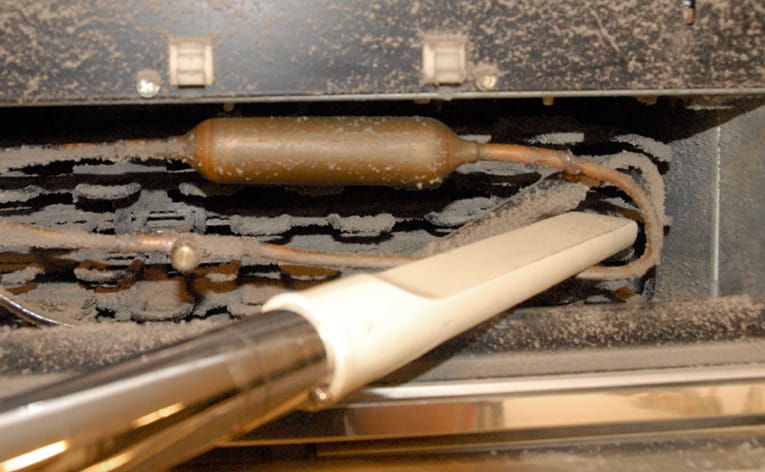
3 With a long, narrow nozzle on your vacuum and the help of a refrigerator coil brush—a special long-handled brush that looks somewhat like a bottle brush—clean out all the dust and debris.
Be careful not to bend or dent the cooling fins. You can buy a coil brush at a hardware store for about $10.
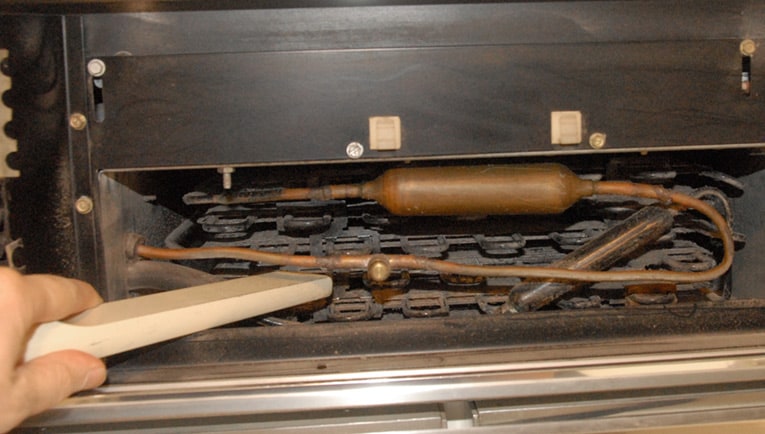
4 Holding the crevice tool flat, slide it between the coils, cleaning as thoroughly as possible. Wipe dust from surfaces with a rag.
5 Replace the cover, and then plug the refrigerator’s electrical cord back in or turn the circuit back on.
Refrigerator Cleaning Video
This helpful video shows how to clean the coils of a refrigerator where the coils are located at the bottom:
Featured Resource: Find a Local Appliance Repair Pro




 Don Vandervort writes or edits every article at HomeTips. Don has:
