Expert advice on growing vegetables and other edibles, from planting to watering, fertilizing, weeding, and care.
Ingredients for a salad don’t get much fresher than when they are pulled directly from the yard. When you “grow your own,” you can guarantee your produce is organic. And, it just tastes better! Most fruits and vegetables are never sweeter than when they first come out of your own garden.
Today’s edible garden isn’t your grandmother’s labor-intensive vegetable plot stuck in a corner of the backyard.
Instead, you’re more apt to find vegetables mixed in with ornamentals in a garden border, or grouped together in a raised bed that is not only a decorative garden element but also easier to take care of than a soil-level plot.
Techniques like over-planting and French intensive gardening allow you to grow a maximum number of vegetables in a minimum amount space, including container gardens.
Many fruit trees are also available in dwarf and semi-dwarf varieties, which are faster to set fruit, easier to prune and harvest, and ideal for smaller gardens.
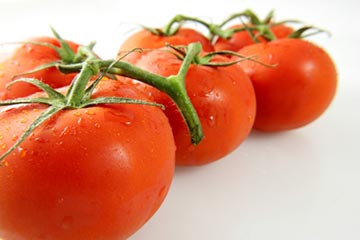
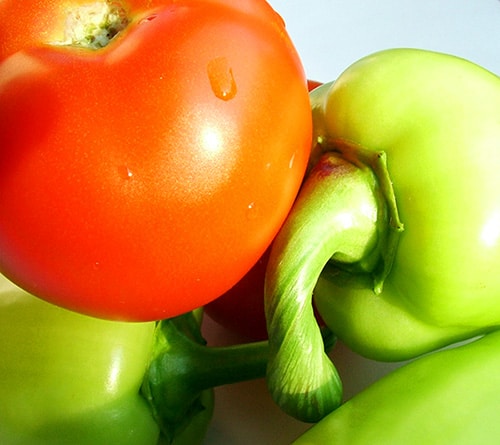
Edibles also give your garden variety. Many of these plants are decorative in their own right. Artichokes, onions, and rhubarb have distinctive leaves. And your garden can be decorated with the range of colors, from the purple of cabbage and the bright yellow of squash to the deep red of tomatoes.
Some edibles, such as apples, melons, and citrus, also contribute fragrance to the garden.
While most edibles are spring and summer growers, cold-weather lovers like cabbage, kale, and spinach keep the garden alive in late fall and early winter.
For related information, also see How to Grow Melons.
How to Start Your Edible Garden
If you’re new to vegetable gardening, growing just a few tried-and-true family favorites is a good way to start. Tomatoes are an excellent choice, as are chard and squash. If you have kids, consider radishes, carrots, and beans—they grow quickly and easily. Or try a “pizza” garden: Fill a large container with basil, parsley, oregano, and tomatoes to be earmarked for use in pizza sauce.
Start small—you don’t want to be overwhelmed by the amount of produce your garden produces. Also take the amount of space you have into consideration: Melons and squashes sprawl, while carrots, radishes, and beets are far more compact.
Also, try sowing plants in succession. That way you’ll have fresh vegetables over a longer period and are less apt to be overrun by one crop.
Vegetables are divided into two categories: cool season and warm season.
• Cool-season vegetables are those that do best in early spring or in fall or (in mild-climate areas) winter. These include broccoli, cabbage, lettuce, peas, and spinach. If you live in a cold climate, you may need to start seeds indoors or look for seedlings to plant in spring.
• Warm-season vegetables, which love the heat, are the traditional crops of summer. These include beans, corn, peppers, tomatoes, and squash. You’ll need to wait until the soil is warm for them to grow successfully, and they’re generally killed by frost.
If you find you have an excess of goodness, look for ways to save the excess or share with others. Many vegetables and fruits can be canned or preserved. If this seems too involved, check to see if they can be frozen. Make up serving-size containers of tomato sauce, or shred zucchini and freeze it in individual amounts that can be thawed and used for zucchini bread. You can also swap with neighbors. Check, too, to see if a local food bank or a Plant a Row for the Hungry program in your community can use donations.
How to Prepare Soil for Vegetable Gardening
The right spot and the right soil are the two basic requirements for successful vegetable gardening. In general, vegetables need a minimum of 6 to 8 hours of sunlight each day. They also like well-draining soil that is rich in organic matter.
The first requirement is to find a place in your garden with enough sunlight throughout the growing season.
The second requirement can be met with soil amendments or, if your soil is very difficult, by growing in raised beds. See Build a Raised Garden Bed.
Start by breaking up the soil in the area where you want to plant. Even if your soil conditions are ideal, add a generous amount of compost (3 to 4 inches the first year; 1 to 2 inches the following years) to the soil along with a fertilizer high in phosphorus and potassium.
Aged dry poultry manure or steer manure are also good choices, but use them sparingly. They tend to be high in salts, so work them into the soil about a month before you plan to plant to allow the excess salt some time to leach out of the planting area.
For clay soils, sawdust, bark, manure, leaf mold, compost and peat moss can help break up and lighten it. Check to see if nitrogen has been added to your amendment; if not, you’ll need to add nitrogen to the soil as well.
Use a spading fork to work the amendments into the soil. Once you’ve added the amendments, level the bed and break up any clods. Water thoroughly and let the soil settle before you plant.
Edible Garden Maintenance & Care
Water, food, and protection from weeds, pests, and diseases are all essential to the proper care of a vegetable garden.
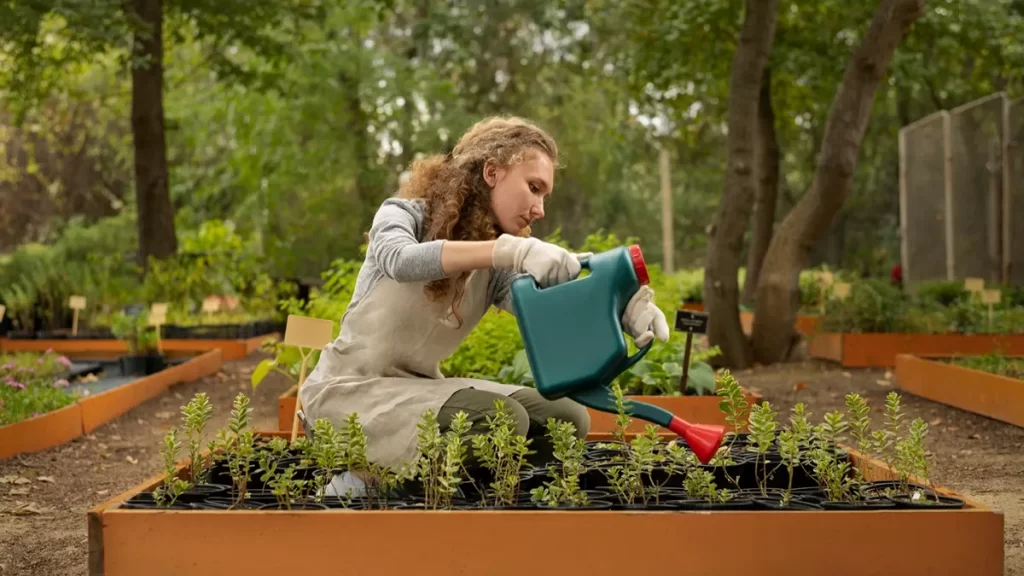
Watering. Enough water is of primary concern—vegetables need a steady supply throughout the growing season. You’ll need to water fairly often as the plants become established or if you have sandy soil or excessive heat, so the roots are never dry. Once plants are established, water them less often, but deeply.
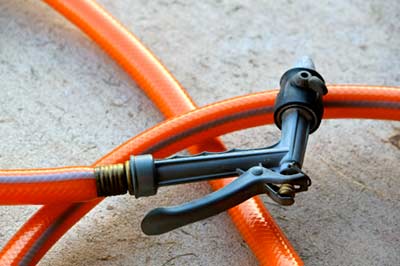
You can water by hand, but more efficient methods include using watering basins around plants or furrows between rows, soaker hoses, or drip irrigation. Drip irrigation applies a steady stream of water directly to each plant’s roots, which helps inhibit weeds. Kits and supplies are available from nurseries, home centers, and online.
Fertilizing. Plants also need fertilizers, especially the three major nutrients of nitrogen, phosphorus, and potassium.
You can use either natural or chemical fertilizers, which are available in dry and liquid formulas. Natural fertilizers are the choice for organic growing.
Add fertilizer when you plant. For long-season crops or heavy feeders, such as corn and tomatoes, fertilize again throughout the growing season, following package directions.
Weeding and mulching. Weeds will compete with your vegetables for water, nutrients, and sun. Hand-pulling weeds, while basic, is one of the most effective methods. Start early in the season, before weeds get out of hand. Often a short weeding session each day or every other day is enough to keep them under control.
If you must use a herbicide, consider herbicidal soap or undiluted white vinegar. Spray when the air is calm, and avoid getting it on nearby plants.
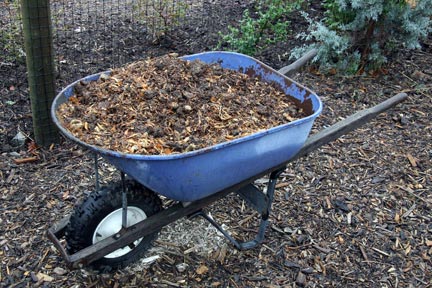
Mulching around your vegetables helps retard water evaporation and keeps down weeds. Organic mulches are the most popular for vegetables. Because mulch keeps the soil temperature cool, wait until the weather is warm to add it in. Apply it in a 2-to-3-inch layer, keeping it away from the crowns of the plants.
Plastic mulches are another choice. Unlike natural materials, plastic mulch helps warm the soil in addition to controlling weeds and moisture loss. Plastic mulch also helps ground fruits stay clean. Red plastic mulch may not do a good job of blocking weeds but results in larger plants when used around strawberries and plants in the tomato family, including eggplant.
Controlling Garden Pests
The key to controlling pests is early detection and prevention. Start with healthy plants, which are less subject to pest invasion. Also, growing a mix of plants tends to limit the number of pests that are attracted to a single plant. Many flowers and other plants also attract beneficial insects, which prey on pests.
Dealing with insects. Check plants regularly. If you do have a problem, start with the easiest and gentlest approach. Physical controls include removing infested leaves and branches. You can also spray a strong jet of water to wash off aphids and mites. Other physical deterrents include barriers, such as floating row covers (thin garden fabrics). Plant collars can prevent cutworms from reaching seedlings, and yellow sticky cards attract whiteflies.
Biological controls rely on beneficial insects and other living organisms to deter pests.
Natural pesticides are low-toxic approaches, but because you’re growing food, you’ll want to limit even their use. Insecticidal soap combats various pests, as does neem oil and products with pyrethrins. Horticultural oils smother pests and their eggs as well as disease spores. Use these sparingly, though, as they can harm beneficial insects as well.
Rotating crops also helps prevent pests and diseases. Allowing at least two years between planting the same or related crops in a spot will help prevent a buildup of the same pests and diseases. See more about Pest Control.
Animals are just as attracted to fresh fruits and vegetables as humans and can do incredible damage. While birds help control insects, they also can eat tender plants. Use row covers, screening, or netting to protect plants, especially during the two to three weeks before the fruit ripens.
Gophers and moles destroy from beneath, gophers by feeding on the roots, moles by uprooting plants when they tunnel beneath them while searching for earthworms and grubs. If you live in an area prone to gophers and moles, protect plants by lining the sides and bottom of the planting holes with mesh hardware cloth, or plant in raised beds lined with hardware cloth.
Rabbits can wreck a garden in no time. A 2-foot-tall fence with mesh will help keep them at bay. Because they burrow, either set the mesh at least 6 inches below ground, or bend it and extend it a foot away from the bottom of the fence, staking it securely.
Deer, too, can eat their way through a garden. Though deer repellants may work, they need to be applied often, and many can’t be used on edible plants. The best option is a fence. Eight feet or higher is recommended, but you can use a 6-foot fence if your land is level or slopes away from the garden. Because deer can’t jump high and wide at once, adding a horizontal extension on top of the fence also can deter them. Another choice is two fences, 4 to 5 feet high and 4 to 5 feet apart. Plant low-growing vegetables in between the two fences.
Growing & Harvesting Herbs
Both the dictionary and botany experts define herbs as plants grown for flavor, fragrance, or medicinal purposes, often including spices and even edible flowers in the description.
When most people think of herbs, though, it’s the culinary herbs that come to mind. From the parsley, sage, rosemary, and thyme of song to the basil and oregano that are staples of Mediterranean cooking, herbs are the plants that add seasoning to food.
Herbs are among the easiest plants to grow. They’re generally not fussy, nor are they prone to many pest or disease problems. They also don’t need a lot of room to spread out, making them ideal for small spaces.
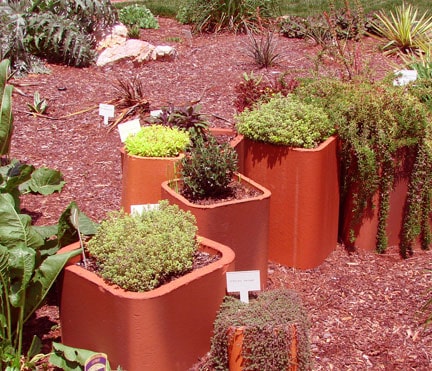
While herb gardens used to be formal affairs, laid out in elaborate geometric patterns, in today’s gardens you’re just as apt to find herbs mixed into a vegetable garden or planted among flowers and shrubs in a bed or border. Herbs like thyme and chamomile can be used as a ground cover or to form a path or even a “lawn.”
Taller herbs, such as an upright rosemary or lavender, work well as a low hedge. Or, you can plant a large container with a variety of herbs to have handy by the kitchen door. In fact, mint is so invasive that it’s best to keep it confined to a pot.
Deciding which herbs to grow depends mostly on your personal preferences. Popular choices include basil, mint, oregano, parsley, sage, and thyme. Among these, you’ll find any number of varieties, including Greek oregano, lemon and conehead thyme, and both curly and flat-leafed Italian parsley. A garden comprised just of these favorites can give you a surprising amount of culinary flavors.
If you’re more adventurous, you may want to try growing some more-unusual herbs, such as cilantro (also called Chinese parsley, and its seeds, coriander), chives, dill, marjoram, and tarragon.
Venturing even further afield, you can grow herbs for tea, such as chamomile and sweet woodruff (a good choice for a shade-loving ground), specialty seasonings such as chervil, lemon balm and lemon grass, and sorrel, or even those feline favorites, catmint and catnip.
And don’t overlook adding some edible flowers to the mix. Lavender, cloves, cottage pinks, feverfew, scented geraniums, Johnny jump-ups, nasturtiums, pot marigold (calendula), and sweet violets are all fine additions to any herb garden.
The majority of herbs like lots of sun, so choose a spot that receives at least six hours of sun per day. Those that prefer shade generally are fine with some sun or only light shade, so place them in a shadier corner of the bed or where other plants will block the sun during the hottest part of the day.
Preparing for Planting Herbs
When laying out the bed, be sure to take the eventual size of the plants into consideration so that larger plants won’t crowd out the smaller ones. Also, perennial herbs will be permanent parts of the garden, so keep this in mind when choosing their locations. Think, too, about the colors and textures of the leaves and flowers of each plant, and mix them to show off their beauty and to complement the plants around them.
To save water and keep plants as healthy as possible, group plants with similar watering needs together. Plants with thicker, smoother leaves, such as basil and parsley, generally need regular water. Herbs that are native to drier climates, like rosemary and thyme, are far more drought-tolerant and usually thrive on a little neglect, making them a good choice for less-than-ideal garden spots.
If possible, prepare your planting bed about a month before you actually plant, or in fall if you live in a cold-winter climate. With a spading fork or, for larger areas, a rotary tiller, turn over the soil about a foot deep. Add organic compost, especially if your soil is excessively sandy or clayey. Once you’re ready to plant, rake the bed again, smoothing out the surface so it is even and removing any clumps of dirt.
How to Grow Herbs
You can start plants from seed, but most herbs are readily available in seedling form. Add an all-purpose fertilizer when planting; you won’t need to fertilize the rest of the growing season. Water thoroughly, even if the plants are drought-tolerant, and continue to water until they are well established. Once the soil temperature is warm (at least 50 degrees F.), add mulch to help suppress weeds and retain moisture. You may also want to protect small seedlings from birds and other predators by covering the beds with netting or chicken wire.
Once the plants are established, keep them watered, as needed, and keep an eye out for pests. The key to stopping an infestation is to take care of the problem in its early stages. Because these plants are grown for consumption, it’s best to use nontoxic pest controls. For smaller insects such as thrips, mites, and aphids, try spraying them with a blast of water or using an insecticidal soap. Remove larger insects like caterpillars, as well as snails and slugs, by hand. Other options include trapping them under pots or in traps filled with fermenting liquid, surrounding the plants with a copper barrier, or using a nontoxic bait that’s safe for pets and birds. Whatever pest controls you use, take care not to destroy beneficial insects that feed on insect pests.
Several flowers have also been found to be either pest deterrents or to attract beneficial insects and birds. These include the herbs dill, parsley, and feverfew. They also include popular flowers like coreopsis and cosmos.
Annual herbs, such as basil, grow for a single season. Others, such as oregano, marjoram, and thyme, are perennials and shrubs and permanent parts of the garden. Let them die back in winter (in some mild-winter climates, they will continue to produce), and then feed them lightly and add compost around the plants in early spring to give them a head start on the new season.
Herbs have a long growing season and are among the original cut-and-come-again plants; you just snip off what you need for that day. This, in turn, encourages further growth and prevents the plants from going to seed. If you’re not using the herbs immediately, set them in a small glass or vase of water to preserve their freshness; this also makes a lovely green bouquet for the table.
How to Harvest Herbs
At the end of the growing season, you can easily dry herbs to last through the winter. It’s a low-tech process: You simply cut off the edible parts of the plant, place them in a dry but airy place out of the sun until they are thoroughly dried and the leaves begin to crumble, and then store them in an airtight container.
The best time to cut plants for drying is when the flower buds are just starting to open. Cut in the morning, when the plants no longer have dew on them. If you want to dry both stems and leaves, tie the stems into a bundle and then hang them upside down. To dry just the leaves, cut them from the stems and spread them on a screen container. For herbs that are grown for their seeds, wait until the seedheads or pods turn brown and then pick them and place them in a brown paper bag. When the seeds can be shaken loose, they are ready to be stored.






 Don Vandervort writes or edits every article at HomeTips. Don has:


