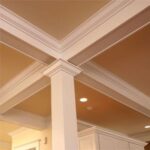
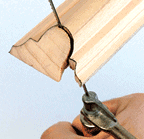
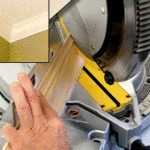
Trim boards, also called molding pieces, gracefully cover joints between different surfaces and materials. The most common applications are casings around windows and doors and base moldings at the bottom of a wall.
Crown molding is sometimes used to dress up the joint where wall meets ceiling, and various decorative trims, including chair rail and picture molding, are used to add interest to a wall or ceiling. If you enjoy installing or repairing a fireplace mantle, staircase parts, wainscoting or paneling, you will find a wide variety of trims made to suit those situations.
Trim pieces are identified by their profiles- how they look when viewed at their ends. You can find profile charts at home centers and from online suppliers to help you choose the right board for your purpose.
Interior Trim Types
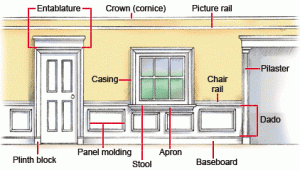
The word “trim” refers to almost every applied decorative element you can think of, including baseboard, door and window casings, chair rail, picture rail, crown molding, pediments, pilasters, columns, ceiling medallions, corbels, spandrels, mantels, and fireplace surrounds.
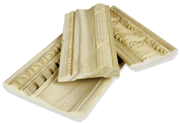
Some trim is simply flat boards-1 x 2 battens, for instance. But much of what we think of as trim is molding, in which a shape-a profile-is carved into the surface of a flat board. There are literally hundreds of profiles to choose from, although you may find only the most popular ones in stock at your local supplier.
Trim and moldings are generally divided into categories according to where they appear on the wall (although some pieces can serve a dual purpose, such as a baseboard that is used as a door casing). Often different kinds of trim are combined to create a built-up molding, particularly a crown.
Baseboard covers the intersection between the floor and wall and protects the bottom of the wall from such things as a wet mop or a vacuum cleaner. The profile of the baseboard is generally deeper (wider) at the bottom than at the top. Except in unique situations, baseboard is found in most homes.
Base shoe is a quarter-round trim. Its two flat sides form a 90-degree angle that fits against the floor and the baseboard; its third side is rounded. In profile, it looks like a quarter circle. Base shoe elaborates the baseboard slightly but also serves to cover any gap between the baseboard and flooring material.
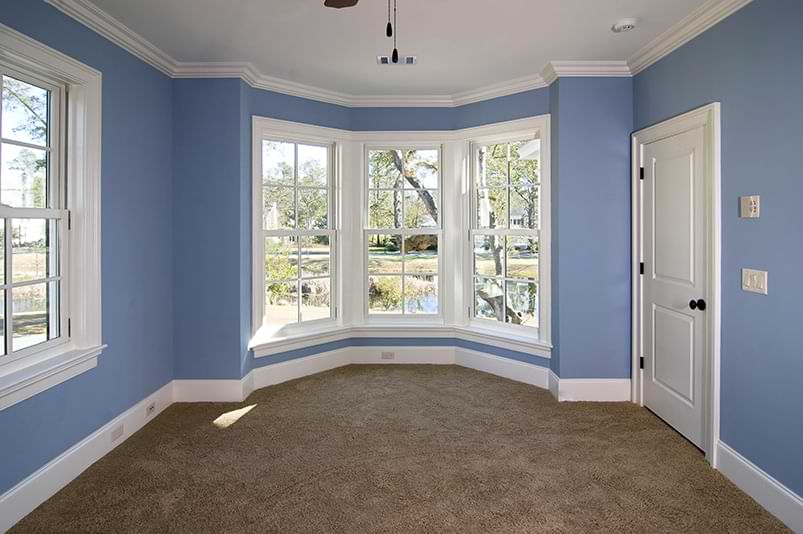
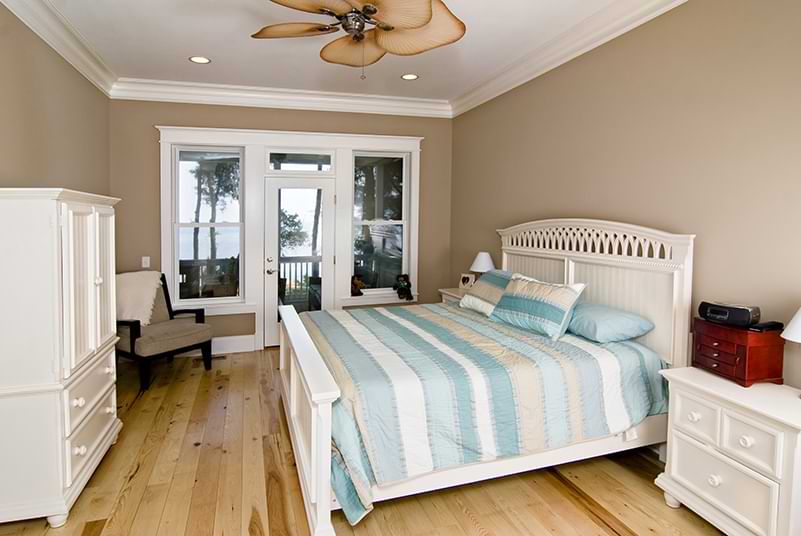
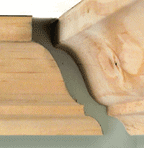
Ceiling molding (also called cornice or crown molding) covers the intersection between the wall and ceiling. Flat- backed types are applied at the top of the wall, butting against the ceiling. Crown molding, which is a sprung molding, crosses the intersection at an angle so its back is in three parts-a broad, flat central area and angled edges.
Door and window casings create a frame around the door or window opening and hide the gap between the jamb and the adjacent wall. The outside edge of the casings is usually flat, to provide surface for horizontal trim-such as a chair rail-to butt into cleanly.
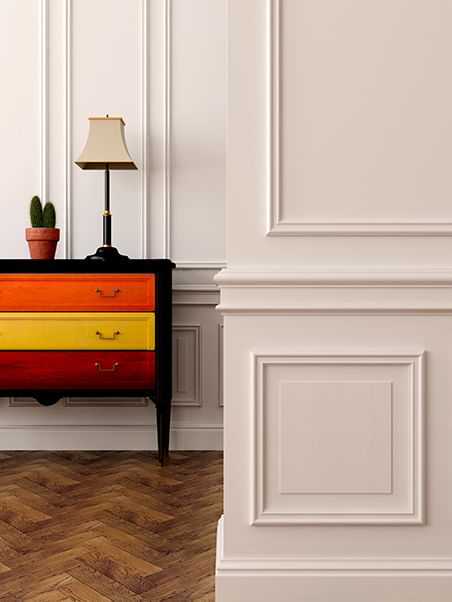
Wall paneling can cover an entire wall or a portion of it. It can be made using frames, panels, bead board, tongue-and-groove boards, or plywood and battens, depending on the style you wish to achieve. Generally, if the paneling doesn’t cover the entire wall, it is called wainscot and runs either one-third or two-thirds of the way up the wall.
Cap molding and back band have rabbeted edges that fit over the top of wall paneling or the outside of flat casing.
Chair rail is applied approximately 36 inches from the floor. It functions to protect walls from the backs of chairs, but it is also used as a division between paint and wallpaper or two different colors of paint, or simply to create a visual break in the wall.
Picture molding has a rounded top edge to accommodate hooks. It is positioned high on the wall so artwork can hang from it rather than from picture hooks nailed into the wall.
Tips for Choosing Interior Trim
To employ trim effectively, it’s best to follow a few basic precepts:
Use Trim Consistently
Your home will look best if all the trim work conforms to a single architectural style. Formal rooms, such as living rooms, may have more trim-wall paneling, a chair rail, or fancy cornices-than bedrooms, but all the trim should be of a consistent style.
Throughout your house, be careful not to go overboard with trim. Too much can overpower a room and detract from all other interior elements, decreasing rather than adding to your home’s attractiveness and value.
Make Sure All Trim Elements Go Together
Within any style of trim, there are a number of choices. Particularly where trim pieces intersect, your selections need to be suited to one another. For instance, baseboard and chair rail should never be thicker than door and window casings.
The vertical pieces on a paneled wall should never be thicker than the horizontal trim they abut. In cases such as where a plate rail meets a window casing, the end of the rail needs to be finished with a return so the end grain is covered.
Develop Your Craftsmanship
Woodworking skills are important when it comes to installing trim. Narrow gaps are almost imperceptible when filled and sanded, but wide gaps and uneven cuts offend the eye. This is especially true with wood that will be stained rather than painted. If you are going to install the trim yourself, experiment with cuts and joints on scrap wood before working with the real thing.
Keep It to Scale
The size of your trim and moldings should be in proportion to the size of your rooms. Unfortunately, there are no formulas to help you determine what’s right for any specific situation.
As a rule of thumb, the baseboard and crown molding should be in balance so that one doesn’t overpower the other. In rooms with a standard 8-foot-high ceiling, no baseboard or crown should be more than 6 inches tall. Most trim between 3 1/2 and 6 inches in height works well in these rooms.
Higher ceilings demand taller and deeper trim. In rooms where ceilings are extremely high, 6 inches is the minimum height for baseboard and crown molding. If the doors in such a room are standard size, you can make them seem larger by installing wide casings or adding decorative treatments such as a pediment above or pilasters alongside them.
Establishing scale and proportion is a challenge, especially in a unique situation. If you don’t trust your own eye to guide you, you might want to hire a designer to specify what you should use and where you should place it before you invest in the material.
Interior Trim Materials
Wood trim is usually clear, meaning it has no knots, which (unless you are installing knotty pine paneling) would mar the appearance.
Though moldings made of other materials are available, wood remains the most common material for trim boards. At a home center or lumberyard, you will find at least some of these options:
- Hardwoods make the best trim. They resist warping and cracking and can be stained to a beautiful finish. It is usually best to apply the stain before installing the piece, and then to touch up the cut edges and apply the final finish.
- Pine has long been the most common trim material. It resists cracking and remains stable. It usually has wide grain lines, meaning that it will have an informal appearance if stained. That’s why it’s usually painted. Pine is soft and so may be easily dented.
- Poplar is a bit more expensive than pine, but it is harder and more resistant to denting. It has a closer grain, so you may be able to stain it satisfactorily. Still, poplar is usually painted.
- Paint-grade trim is definitely meant to be painted rather than stained and is less expensive than clear pine or hardwood. Some types come primed, which is a big plus-you can probably get away with applying only one coat of paint rather than the two or three usually needed for bare wood. Paint-grade pieces are made of various materials.
- Finger-jointed boards are manufactured by joining together short pieces. The finger joint will be unattractive if stained, so these boards are usually painted. Some finger-jointed boards are better than others. Feel the joints to be sure they are perfectly smooth; if not, the joints may be visible even after painting.
Trim for Older Homes
When working on an older home, you may need to match a trim profile that is no longer sold. In this case you have three basic options:
- Use one or more pieces of off-the-shelf trim that are similar to the old trim. Sometimes, combining two narrow pieces can mimic the look of one wider piece. This may be close enough that the difference is unnoticeable.
- Have a lumberyard custom-mill pieces for you. There will be an initial charge for setting up the “knives” used for milling the profile. Other than that, the cost per lineal foot will not be too bad. Of course, that means that custom milling is expensive if you only need a few pieces but becomes more reasonable the more boards you purchase.
- Start with clear lumber and mill it yourself. Use a router with router bits that match or come close to the profile you are after.
If your home has an Arts and Crafts style, you may find that much of the trim is square cut. In that case, you might be able to use clear 1-by boards (which after milling are 3/4 inch thick), or ask a lumberyard to mill boards that are a bit thinner or thicker.






 Don Vandervort writes or edits every article at HomeTips. Don has:
