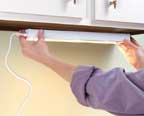
Installing a fluorescent light is a simple procedure with dramatic results.
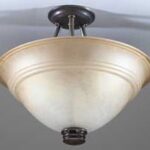
To mount a typical fluorescent ceiling fixture, first use a stud finder to find ceiling joists. If none are available where you wish to hang the fixture, you can use toggle bolts to anchor it in the drywall. Either way, make sure your drill and hardware are accessible. Shut off the power to the circuit before doing any work on the fixture.
- Understanding Color Temperature in Home Lighting
- Light Up Your Look—Stylish Vanity Mirrors with Lighting
- Smart Home Upgrade: The Best Motion Sensor Lights for Security and Convenience
- Dining Room Lighting Delights—Illuminate Your Space with Style
- Stylish Floor Lamps—Light Up Your Living Room
- Chandelier Chic—Illuminate Your Rooms with Style and Grace
1 First, remove the cover and make any connections within the fixture, as specified by the manufacturer. Use wire nuts for splices. You may also need to add pigtails and a grounding jumper to bridge the gaps between internal fixture wires and the point where cable enters the fixture.
2 Open up a knockout in the fixture canopy, and then feed incoming wires through the hole. This fixture is mounted directly below a ceiling box; if your fixture is not, plan to secure cable to a smaller knockout with a metal cable clamp.
3 If possible, drive screws through the fixture canopy and into the ceiling joists. If the joists do not align with the fixture, secure the fixture to the ceiling material with toggle bolts.
4 Splice the fixture’s black lead to the circuit’s black hot wire and the white fixture lead to the incoming white neutral wire. If there is a green circuit grounding wire, wrap it about the fixture’s grounding screw. Secure it by tightening the screw.
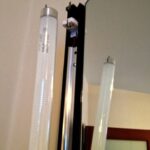
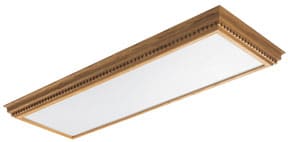
5 Finally, slip the ends of the fluorescent tubes into the tube holders, and then add the diffusing panel atop the tubes. Like this one, most diffusing panels simply snap into place. Restore power, and test out your new light.





 Don Vandervort writes or edits every article at HomeTips. Don has:
