Build energy efficient outdoor lighting with this helpful DIY guide. Low-voltage lighting kits, solar outdoor and garden lights, motion detectors, and timers.
Leaving incandescent pathway or exterior lights on all night can waste energy and money. Fortunately, today we have many options to help illuminate the outside of our homes–increasing security, visibility, and nighttime curb appeal–while still keeping our energy usage and budget in check.
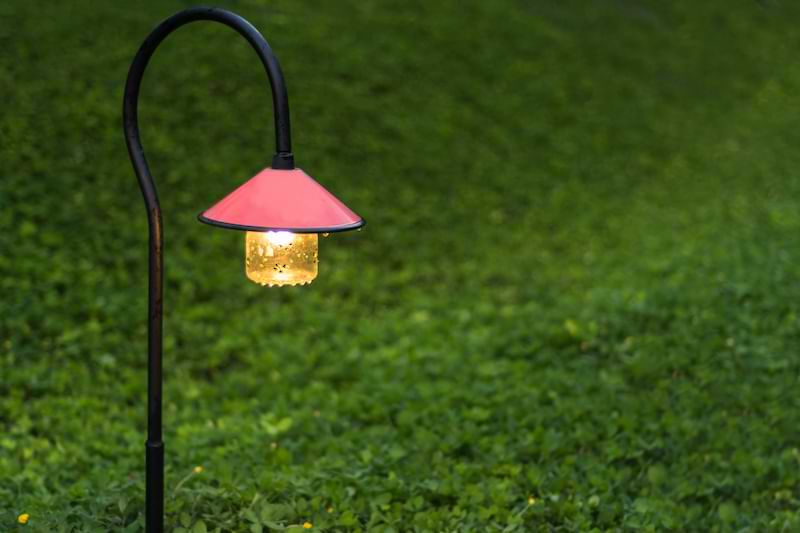
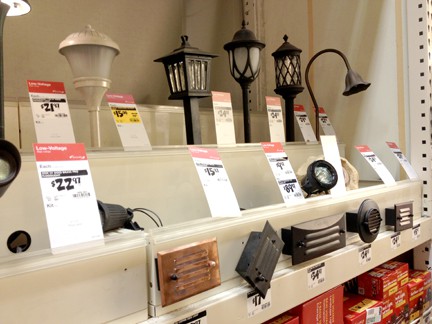
Solar-powered and low-voltage systems are perfect ways to light up paths, patios, decks, and garden spaces. You’ll find a wide array of accent lighting styles from which to choose, from low-profile, simple fixtures to tall, baroque varieties. Whatever you select, make sure your choices complement your home’s style. For instance, match minimalist lights to a modern architectural style and flowery, ornate fixtures to a whimsical Victorian or country cottage house.
When designing your lighting plan, combining a variety of ornamental lighting styles is often effective, but don’t go overboard. Aim to highlight your yard’s strongest features while keeping other areas pleasantly shadowed.
For added drama, spotlights that graze across surfaces can showcase eye-catching textures, or shadow lights and backlights can emphasize silhouettes and outlines. Also remember to make your lighting scheme pleasing to look at from inside your house.
Outdoor lighting systems are typically low voltage (they operate on 12 volts) and consist of light fixtures, a transformer, and electrical cable. An individual fixture can typically output anywhere from 4 watts to 50 watts of illumination. Your transformer should be rated to handle at least 25 percent more wattage than the total wattage of all lamps on the system. For example, a system consisting of 12 20-watt fixtures (240 watts) will need a 300-watt transformer. NOTE: Always plug the transformer into an outside electrical outlet fitted with a ground fault circuit interrupter (GFCI).
To install these systems, you simply run the cables in trenches and then position lamps where you need them, inserting them into the ground on stakes. They attach to the cable with connectors, which are included in your kit.
The power pack, which often comes with a built-in timer, is plugged into a standard outdoor outlet. Low-voltage lighting usually uses halogen or LED bulbs; LED technology consumes as much as 80 percent less energy than standard incandescent bulbs.
Solar outdoor lights have photovoltaic cells that convert energy from the sun into illumination at night. More on this below. These have a reputation for being a bit dimmer than low-voltage systems, but some manufacturers have claimed improved performance in recent years (there are even some who offer solar-powered security lights).
Solar garden lights cannot be beat for ease of use–simply stick them in the ground in a sunny location during daylight hours, and let them power up. Do note that it may take a few days for them to drink in enough sunlight and store up enough energy to achieve their maximum output.
If a more intense illumination source is what you need–such as a spotlight or floodlight–consider fluorescent or high-intensity discharge (HID) lights. Just as with interior fluorescents, exterior fluorescent lights use considerably less energy than their incandescent counterparts and have longer life spans.
Likewise, HID lamps turn a small amount of power into a large amount of illumination. These use gases–metal halide, sodium, and mercury vapor–to radiate light. Lights equipped with sensors are another way to save energy–these power on only when you need them and turn off when you don’t.
Lights with motion detectors turn on when they sense movement. When placed where potential intruders are most likely to pass, these can greatly enhance security. You can install a new motion-sensor light fixture (see Motion-Sensor Light Switches) or add a motion detector to an existing light (lamp-base motion sensors, which simply screw into your fixture, are the easiest to install).
Daylight sensors have a photocell that detects the presence or absence of light, automatically turning your lamp on at night and off during the day. You can purchase a light fixture with a daylight sensor built in or install a sensor that will control existing lights.
Finally, outdoor lighting timers, made with a heavy-duty metal casing to protect the unit from the elements, let you program lights or other outdoor electrical appliances to turn on and off automatically. There are also units that combine sensor and timer technologies to give you the greatest flexibility in control.
Solar Outdoor Lighting
Outdoor lighting not only provides safety and security for your home by illuminating pathways and your driveway after the sun goes down, but it can also create attractive and dramatic effects in your nighttime landscape. As long as the areas where you want to place outdoor lighting fixtures receive adequate sunlight during the day, solar lighting is an easy, energy conscious, and inexpensive option.
Because solar lighting fixtures don’t require any electrical wiring, they are infinitely easier to install than low-voltage lights. Most simply stake into the ground, allowing you to skip digging trenches for wires and figuring out how to connect the lights to your home’s electrical system. Because they convert sunlight into energy, solar outdoor lights also won’t add to your electrical bill.
The one downside to solar lights can be the quality of the light itself; however, most manufacturers now offer lights with LEDs, which have a strong, bright light that should last as long as the fixture itself.
In addition to the standard staked light, there are several other options for appearance and application. You can find lights that hang on the wall or out over the walkway, lamppost, or even lighted bricks that work well around pools or other paved areas not conducive to staked lights. For functional rather than decorative lighting, you can install solar-powered floodlights with a motion detector to deter intruders.
Solar outdoor lights can be found online and at most home improvement stores, and they are relatively inexpensive—simple path lights start at about $10 each. Be sure to check the packaging to find out how long they’ll last after a full day’s charge, and expect that time to decrease during winter months or if the lights are shaded during parts of the day. Also expect it to take a few days after installation until your lights reach their full nighttime output.


 Don Vandervort writes or edits every article at HomeTips. Don has:


