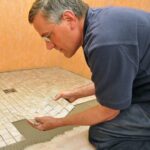
Carefully planning the placement of cement backerboard is as important as meticulous installation.
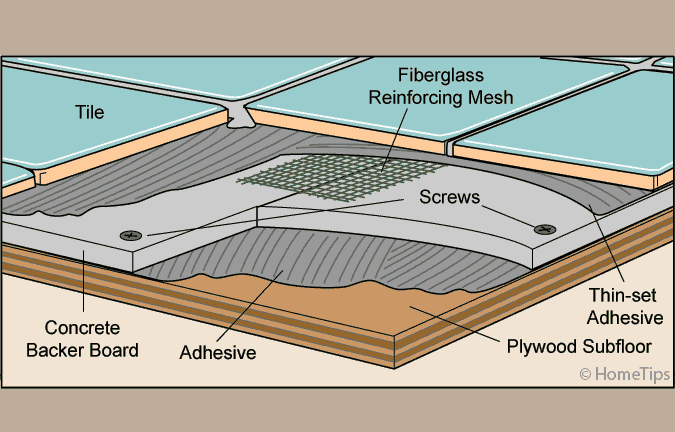
The most successful tile floor applications begin with either fibrous cement backerboard or cement backboard that is mesh-reinforced, installed with special backerboard screws.
Start by snapping chalk lines to indicate where the joists are located. The idea is to lay the backerboard sheets so that no joints coincide with joints in the subfloor. Also arrange the sheets to avoid four corners meeting in the same place. Leave 1/8 inch between backerboard sheets and 1/4 inch between the sheets and the base of the wall.
Once you have mapped out your plan, you are ready to cut and install the backboard.
1 Sweep the floor until it is free of dirt and debris. Lay down a backerboard sheet, measure and mark it top to bottom for the cut, and then subtract 1/4 inch.
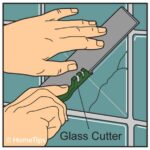
2 With a straightedge against the mark, score the line with a cement-backerboard knife. Turn the sheet over, hold one side down, and pull the other side up. Place the sheet on its side and score the reverse side along the same line as the first. Snap the sheet back to separate the two pieces. Sand the edge with a tile stone if it is very rough.
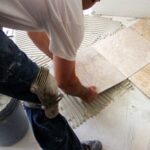
3 Mix thinset mortar and, after sweeping up, apply it to the floor with a 1/4-inch square-notched trowel.Place the sheet on the mortar according to your schematic. Where there are joists below, drive screws every 6 inches or as specified by the manufacturer. Drive screws along the edges every 4 inches (or as recommended by the manufacturer) but only where the edge clears a joist by at least 2 inches.
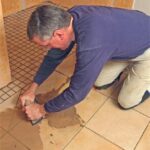
4 When you have laid all the backerboard, tape the joints with fiberglass mesh tape. Spread a fine layer of thinset mortar over the tape with a trowel. Feather and smooth it to create the most level plane you can. Allow the thinset to dry and harden completely before tiling.
NEXT SEE:





 Don Vandervort writes or edits every article at HomeTips. Don has:
