Expert advice on how to install a bathroom toilet, with illustrated step-by step DIY installation instructions.
If your toilet has seen better days—or you simply want to update it with a model that’s more stylish and efficient—you’ll be glad to know that replacing a toilet is an afternoon project. However, if you plan to install a toilet in a new location, you will have to extend supply pipes and drainpipes to the desired spot, a job you may want to leave to a professional plumber.
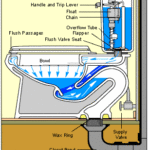
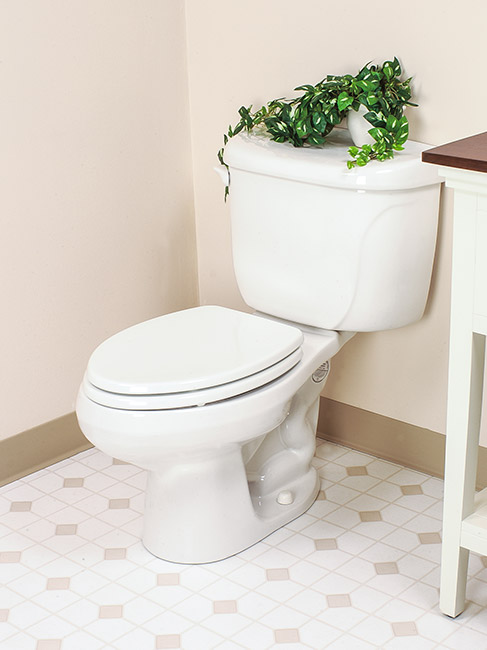
When shopping for a toilet, you’ll find many choices. The two-piece type shown here is the most common.
Though most toilets are sold with the necessary gaskets, washers, and hardware for fitting the tank to the bowl, you might need to buy a few parts. These may include hold-down bolts, a wax gasket for sealing the drain, and a flexible water-supply tube for connecting the tank to the shutoff valve.
Before installation, turn off the water at the shutoff valve. Flush the toilet to empty the bowl and tank, and sponge out any remaining water. Disconnect the water-supply tube from the shutoff valve, drain the water from the tube into a bucket, and then unscrew the coupling nut on the supply tube at the bottom of the tank.
If the hold-down bolts that fasten the toilet to the floor are corroded to the extent that you can’t remove the nuts, soak the bolts with penetrating oil or cut them off with a hacksaw. When you bolt the new bowl to the floor, be very careful not to over-tighten the nuts as this can crack the porcelain.
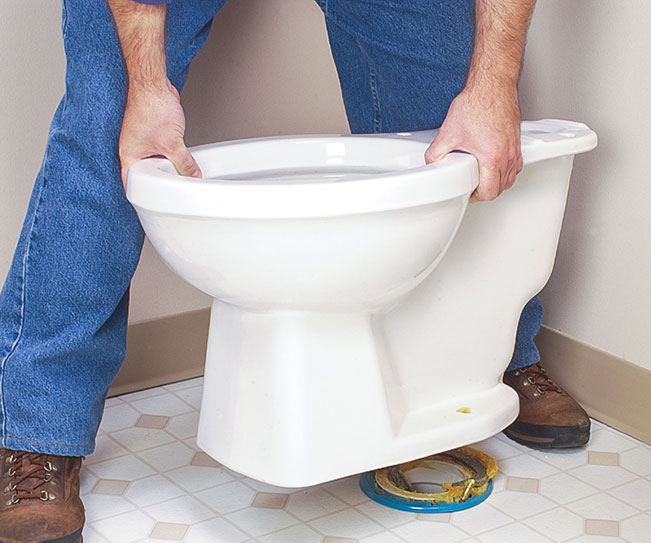
1 To remove the old tank, unbolt it from the bowl using a screwdriver to hold the mounting bolt from inside the tank while unfastening its nut with a wrench from below. Remove the bowl by prying the caps off the hold-down bolts and removing the nuts with an adjustable wrench. Gently rock the bowl from side to side to break the seal between the bowl and the floor, and then lift the bowl up, tilting it forward slightly to avoid spilling any remaining water.
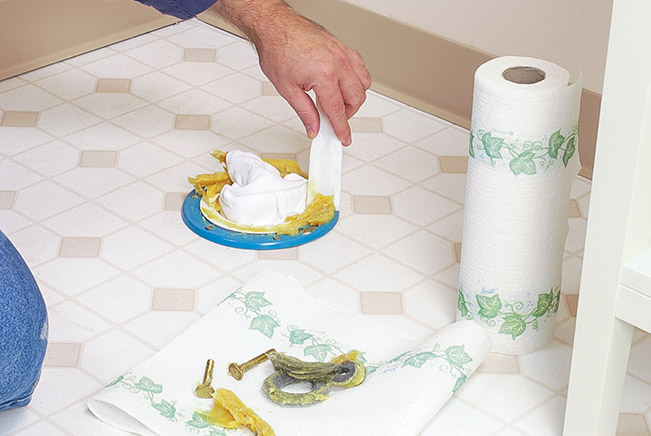
2 Stuff a rag into the drainpipe to prevent sewer gases from escaping into your home. Using an old putty knife, scrape the wax gasket remains from the floor flange. (If the old hold-down bolts and/or the floor flange are damaged, replace them, too.)
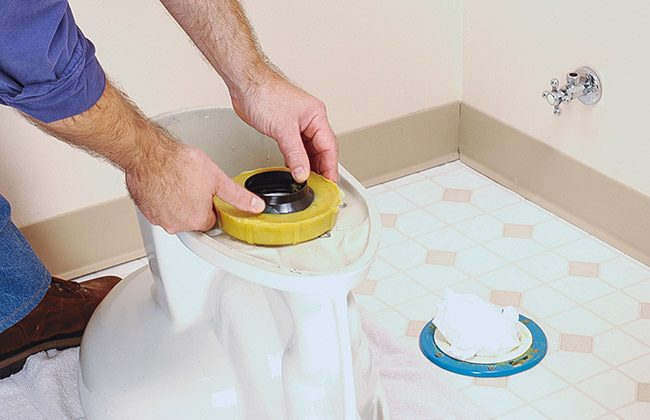
3 Turn the new bowl upside-down on a cushioned surface. Place a new wax gasket over the horn on the bottom of the bowl, facing the tapered side toward the bowl. If the wax gasket has a plastic collar, install it so the collar is away from the bowl after first checking that the collar will fit into the floor flange. Apply a thin bead of bathroom caulk around the toilet base.
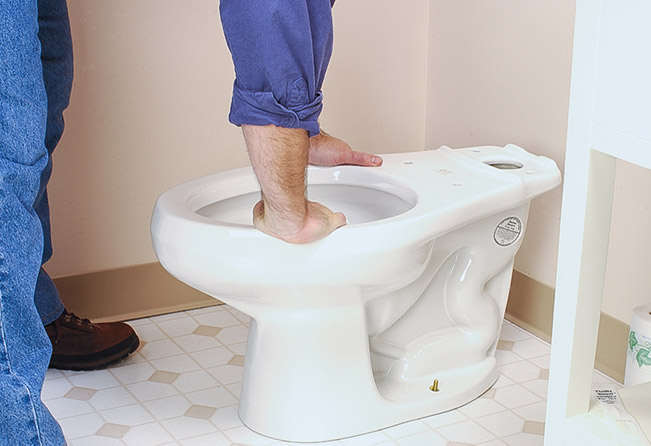
4 Remove the rag from the drainpipe. Gently lower the bowl into place atop the flange, using the bolts as guides. Press down firmly while gently twisting and rocking. Using a level, check that the bowl is straight; use plastic shims if necessary to make minor adjustments.
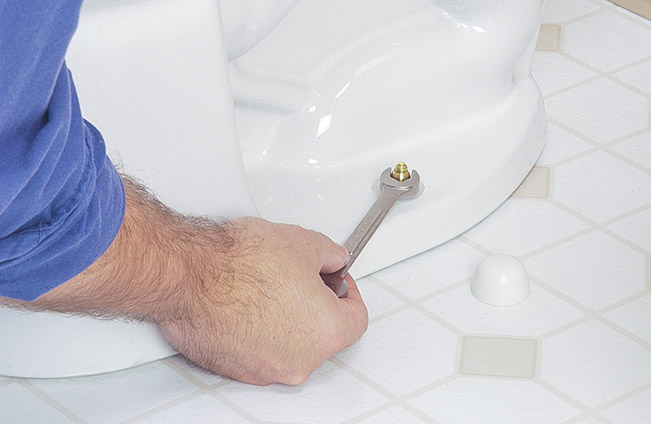
5 Hand-tighten the washers and nuts onto the bolts. Then alternately tighten them with a wrench until the toilet is seated firmly on the floor. Snug up the hold-down nuts, but don’t overtighten them as this can crack the bowl. Fill the caps with plumber’s putty and place them over the bolt ends.
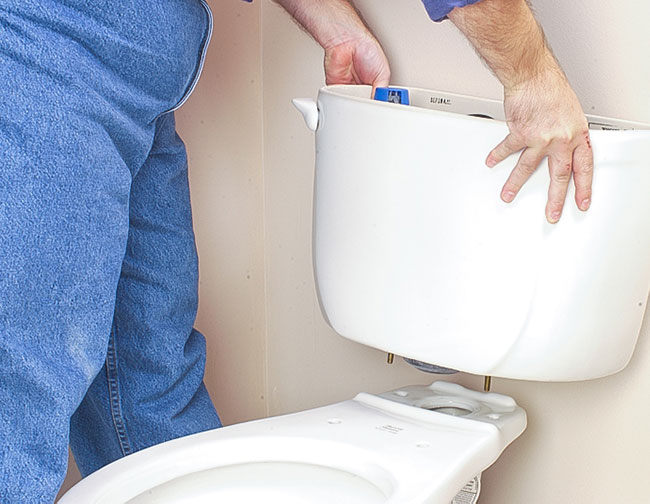
6 If necessary, assemble the flush valve inside the tank and tighten the large spud nut at the center. Place the rubber tank cushion on the bowl. Position the tank over the bowl and tighten the nuts and washers onto the mounting bolts. Hook up the supply tubes and open the shutoff valve.
Featured Resource: Get a Pre-Screened Local Plumbing Pro





 Don Vandervort writes or edits every article at HomeTips. Don has:

