Painting cabinets can be one of the quickest and easiest ways to transform them, depending upon the type of cabinets in your kitchen or bathroom. A properly applied new coat of paint can hide the signs of aging cabinetry or enliven cabinets with color and style. And, unlike the cost of installing new cabinets or refacing them, you can paint cabinets for a couple hundred dollars or less.
Wood or metal cabinets readily accept paint. Cabinets covered with plastic laminate or melamine, on the other hand, will not. Conventional paint won’t adhere to the ultra-smooth surface of laminate cabinets.
An airless paint sprayer is the best tool for applying a smooth, even finish to cabinets. This will apply paint to all surfaces and crevices without brush or roller marks. But spraying cabinets indoors requires extensive masking and draping of all the surroundings to protect from over-spray. And, most people don’t have an airless sprayer (though you can buy one online or rent one from a tool rental supply or a major home improvement center).
The least intrusive option is to manually paint with a 4- or 6-inch short-nap or foam paint roller and a paint brush. With a roller, you can cover a lot of surface quickly and affordably. Cut-in corners, edges, and recesses with a 2-inch trim brush. But, when using a foam paint roller and brush, avoiding roller or brush marks can be very tricky.
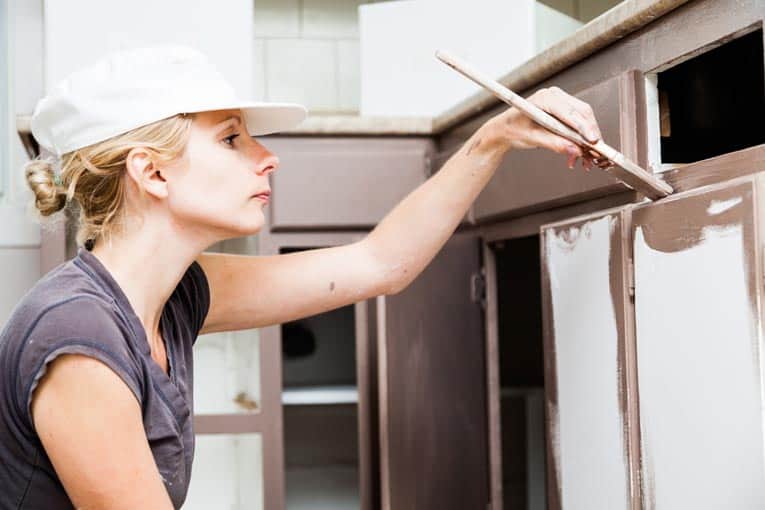
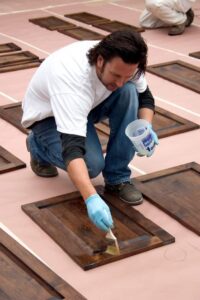
Perhaps the most practical option for achieving a great finish without having to do extensive masking is to remove the doors and drawers, spray-paint them outdoors, and then paint the cabinet frames by hand with a roller and brush.
For paint, choose 100 percent acrylic latex, semi-gloss. Use an alkyd-based primer on any raw wood.
Changing the hinges and pulls is a great way to enhance your cabinet update, and eliminates the need for polishing or stripping paint from the old hardware. Try to find new new hardware that will match-up with the holes drilled for the old hardware. Otherwise, you’ll need to fill the holes with wood putty and drill new holes.
How to Paint Cabinets, Step-by-Step
Before beginning, position dropcloths to protect flooring and countertops. Mask-off any adjacent walls.
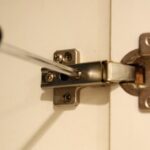
1 Unscrew the knobs, pulls and hinges. If you intend to reuse any of them, be sure to keep all the parts and pieces together. Empty the contents from the drawers, and then remove them. Keep track of where doors and drawers go as you remove them. In some situations, you may find it easier to leave the drawers and doors in place. This usually makes it more difficult to be thorough; open them and be sure they stay open until the paint dries.
2 Scrub the cabinets with a solution of 1-part trisodium phosphate (TSP) to 4 parts water. A scouring sponge will help remove any grease and stubborn dirt. Use a clean sponge to rinse the surfaces with water, and allow the surfaces to dry.
3 Fill and sand. If you will be drilling new holes for mounting new hardware, fill all the old holes with wood putty and allow it to dry. Then sand all surfaces to remove any old, flaking finish and to smooth irregularities. Begin with 100-grit sandpaper and work your way down to finer 150- grit open-coat sandpaper. For this work, you can use an orbital finishing sander or random-orbit sander, a sanding block, or a sanding sponge. Vacuum to remove sawdust and grit, and then wipe with a tack cloth or clean damp cloth, and allow to dry.
4 First paint the face frames, then the inside of the doors and drawer fronts. Begin with a high-quality primer, then apply 100 percent acrylic latex semi-gloss paint. Allow to dry and, if necessary, lightly sand surfaces with a 220-grit wet/dry sandpaper between coats.
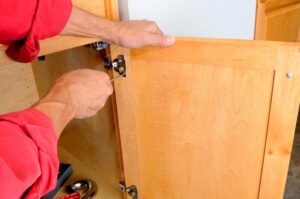
5 Install the drawers and doors. When all of the paint is dry, reinstall all of the cabinet doors and drawers. If you need to drill new holes for handles or pulls, make a cardboard jig that will ensure all of the hardware will be placed consistently.



 Don Vandervort writes or edits every article at HomeTips. Don has:
