Step-by-step DIY advice for how to plant a container garden, including basics such as the right size of container, potting mix, and more.
Containers have always been essential for gardening on patios, decks, porches, and balconies–any place where soil isn’t present. But they’re also being added to landscapes, either as a focal point within the garden or as a way to let gardeners grow plants that wouldn’t otherwise thrive in the native soil or that need special care.
Almost anything that can be grown in the ground can be grown in a container, and sometimes a container is a better choice. Tiny rock garden plants can be brought up to eye level where they can best be enjoyed. Vegetables can be moved to the sunniest spots in the yard throughout the growing season. Trees and shrubs can be nestled in among other plants, even if they don’t have the same care requirements.
Containers are great if you want to grow specialty plants, such as tropicals or succulents, especially in areas where these plants wouldn’t survive the winter outside. You can bring both plant and container into a sheltered area until spring.
There are some rules for container gardening. You need to choose the right pot for the overall size and shape of the plant. You also need to find the right potting mix. Finally, you need to pay attention to water and fertilizer needs. Because the roots of container-grown plants can’t get food and water from ground soil, you’re the only source of these essentials.
Container Gardening Basics
While a single plant in a single container is a natural, and often dramatic, way to go, consider mixing plants.
A tall specimen surrounded by smaller plantings, whether a carpet of the same plant or a mix of coordinating plants, can give a container a more polished appearance. Or think of starting with a tall accent plant, adding filler plants around it, and then planting spillers (plants that grow downward) around the edges. Play with plant and color combinations at the nursery or garden center to see what appeals to you.
1.Choose a container that is the right size for your plantings. You want one large enough to allow the roots to spread and the plant or plants to grow, but not so large that greenery is swallowed up by it. Keep in mind the eventual plant size, especially if it’s a permanent planting such as a large shrub or tree. In that case, it’s fine to have the plant look a little small at first rather than have it outgrow its container.
2. Add a small square of window screening over each drain opening before planting to keep the soil in place while allowing the water to drain. Traditionally, pot shards—pieces of broken pots—have been used by container gardeners, but these can actually hinder drainage.
3. If you want to add polymers, which are crystals that help retain moisture, prepare them according to the package directions and combine them thoroughly with your potting mix. Whether you add polymers or not, add water until the soil is slightly damp, enough to hold together but not soaking wet.
4. Add the potting mix to the container, filling it to a height where the top of the rootball of the largest plant will sit 2 inches below the rim of the pot. Firm it in place. Loosen the roots of the largest plant and set it in the container.
5. If the plant has long roots, you may need to create a trench to allow the roots to grow down into the soil. Use additional potting mix to hold the plant in place.
6. Add any additional plants. The top of each rootball should be 2 inches below the rim of the pot. You may need to add soil beneath smaller plants. Once the plant or plants are in place, fill in with potting soil, firming it as you go. Water gently but thoroughly.
ALSO SEE: Caring for Container Plants
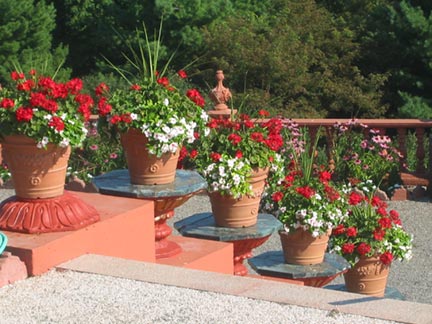
With a little planning, a true container garden can rival any garden landscape. An arrangement of matching pots, with plantings that vary in scale and height, can unify steps, railings, pedestals, and landings.
For a formal look, grow the same plant in a series of matched containers and arrange them symmetrically. For a casual garden, mix shrubs, annuals, and perennials in differing containers/
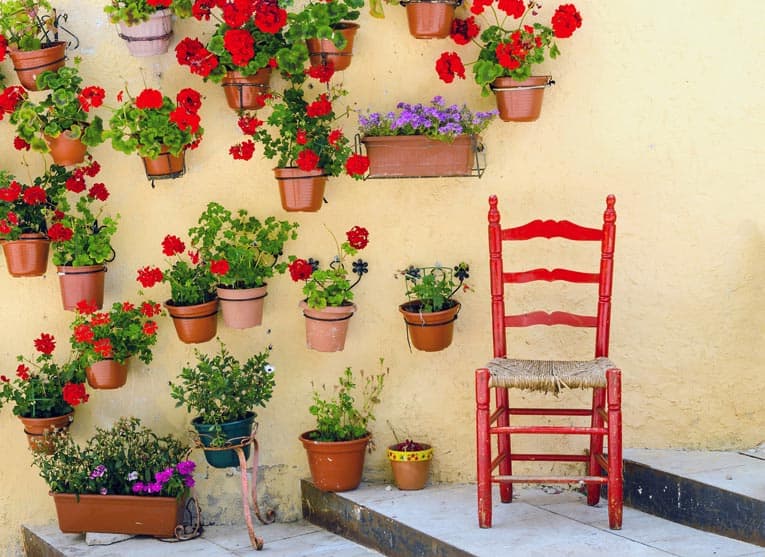
And don’t forget to look up. Hanging containers, whether on an overhead beam or attached to a wall, add interest to any space. (Be sure they’re anchored securely, especially if they’re on railings or over walkways.)
Repeating patterns, whether it’s container style, the plantings themselves, or even leaf color or shape, help create a unifying effect; adding a plant or container that stands out from the others in color, size, or height is a good way to provide a focal point.
Also think about when you’ll be enjoying your garden. If you primarily visit your garden in the late afternoon into evening, consider plants that are fragrant at night. Plants with white flowers also shine in a nighttime garden.
Choosing Containers for Plants
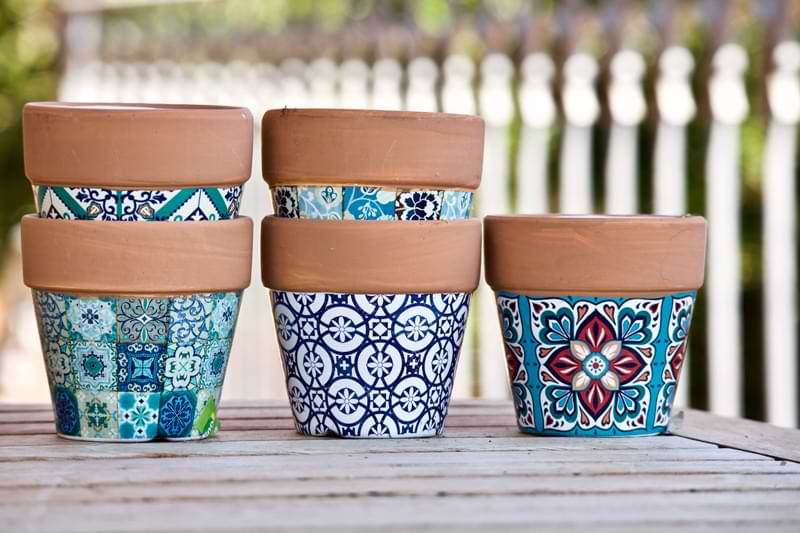
Containers come in all shapes and sizes. You can stick with round or square containers, or look for tall cylinders, flat planters, or pots adorned with decorative edges or raised designs. You can also find specialized pots, such as strawberry pots, which can accommodate plant collections as well as strawberries.
When choosing containers, look for ones that will accommodate the final size of your plantings, or be prepared to transplant as the plants grow. Be sure to have plenty of room for roots, and be mindful if they grow down or out.
Where to Put Container Gardens
Of course, container gardens are the only choice for a balcony or rooftop, and are prized because they add color and interest to these spaces. However, when you’re planning a container garden for one of these spaces, there are certain considerations to keep in mind.
The first is weight and drainage. Pots, especially when filled with potting mix and plants, can be very heavy. If you live in a condo or apartment, you may need to check with your building association or landlord to see if there are any weight restrictions or other regulations.
Even if there are no restrictions, you may want to check on the load-bearing capacity of your structure if you want anything other than a couple of small pots.
Containers and Weather
Sun, shade, and wind are also considerations. Take a look at—and feel—your intended garden space over the course of a growing season to determine just how hospitable it is to plants. Sun can be intense on an exposed roof, and balconies may have increased light and heat reflection from walls. You may need to add some partial shade to help prevent sunburn or overexposure.
In some cases, overhead structures and site orientation may cause balconies to not get enough sun for any but the most shade-tolerant plants. In this case, choose plants that can take lower light levels.
Wind can be a major factor on rooftops and balconies. If strong winds are common, you’ll not only want to protect the plants but also take measures to be sure your containers won’t be blown over—or away. Adding screens or panels and anchoring the containers can help.
Choosing Container Materials
The first step in successfully planting a container garden is finding the right container. It needs to be a good match for the plant or plants you’re planning to grow, both in size and style. It should match your overall garden aesthetic, whether you want a casually rustic style for a natural garden, stone urns for a traditional garden, or geometric metal containers to match a contemporary design. It also should blend with your house and hardscaping.
A good rule of thumb is to decide on a simple color scheme of one to three colors, and then choose containers within that color range. That way, no matter what plants you purchase over the years, the containers will blend together.
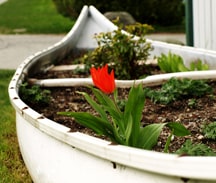
Recently there’s been an explosion in container materials. Traditional terra-cotta pots remain a favorite choice, but you can also find containers made from wood, plastic, and metal. Not that you’re limited just to the containers you find at a nursery or garden center. Anything that can hold soil and water and allow for drainage can be made into a container (including an old canoe, like that shown above). Whatever your material choice, be aware that any dark container will retain heat, which may in turn overheat plants.
Terra-cotta & stone containers. It’s hard to go wrong with terracotta and stone pots. They’ve been mainstays of container gardening for centuries. They blend well with any garden style. In addition, they’re porous enough to keep the soil from getting too soggy and drowning the roots of plants. Excess salts and minerals will naturally wick out of the soil and into the pot itself. They come in a variety of styles, from plain to elaborate, and sizes, from tiny to massive. As a bonus, they tend to develop a patina as they age.
Terra-cotta pots do have some drawbacks. They’re heavy, which means that although they will be more likely to stay in place during heavy winds and are stable enough for a large plant or tree, they’re also much more difficult to move once they’ve been planted. Also, because they’re porous, they need more frequent watering. The salts and minerals that leach out of the soil can leave white stains on the pot, though these are easily cleaned. They also can easily chip or break. In cold-weather climates, frost and snow can damage or break them.
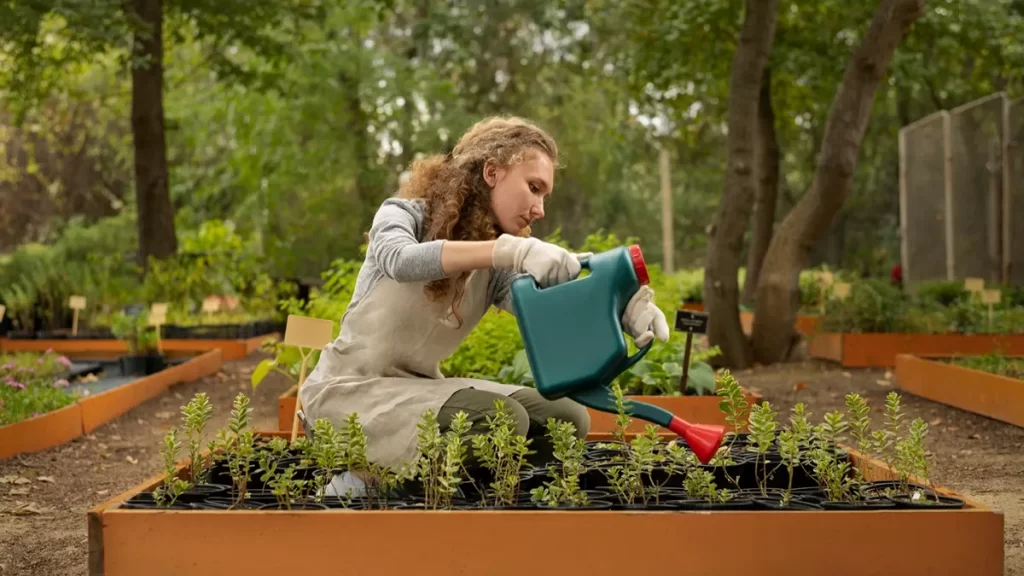
Wood containers. Wooden containers generally have a square or rectangular shape that works particularly well in contemporary and formal gardens, though they also are a good choice for other garden styles. They blend in well on decks and can be built in long rows or as stair steps. If built with rot-resistant wood, they can last for years and won’t break or chip, even in inclement weather. All wooden containers that have sides at least an inch thick will keep the soil temperature moderate when outdoor temperatures are extreme, a real plus for protecting your plantings.
Wooden containers that are left untreated are porous. If sealed, wood will retain water, which means you will need to ensure proper drainage. Even sealed wood will eventually decay.
Plastic containers. Plastic pots have come a long way from their early days. Today’s pots come in a variety of shapes and sizes and can be difficult to differentiate from terracotta, stone, and ceramic. Because plastic pots are nonporous, they retain water, which is ideal for dry climates. They’re lightweight, which makes them easy to move even when they’ve been planted. This makes them a better choice for balconies and rooftops. The higher quality plastic containers can stand up to all sorts of weather conditions. And many plastic pots are designed to be self-watering.
Drawbacks to plastic include issues with their water retention, insulation, and weight. If you live in a wet climate, you’ll need to make sure that plants get adequate drainage. Unlike wood, plastic pots don’t insulate the potting mix against hot and cold temperatures. Their light weight also means they will need to be anchored in windy conditions. And lower quality plastics may crack due to sun exposure after just a few years.
Ceramic containers. These are the aristocrats of the container world. Glazed ceramic containers have the same characteristics as glazed terracotta containers. While they are a more expensive choice, they will last for years and add beauty to any garden.
Metal & concrete containers. Metal is gaining in popularity as a container choice. You can find anything from galvanized steel and aluminum to copper and brass. These containers tend to hold water, which is good in dry climates but more of a problem in wet climates. They also don’t insulate as well as wood, and they can tarnish.
Concrete is rapidly entering the gardening world because concrete is more porous than metal. Concrete containers are very durable, but large concrete containers can be extremely heavy. While they can be painted to blend with other features in the garden, they may not be the ideal choice for every garden style.
Other types of containers. Though terracotta, wood, and plastic are the big three of container choices, anything that can hold potting mix and a plant can be turned into a container. Chimney pots, old wheelbarrows, horse troughs, drainage pipes, wine barrels, baskets, and wagons have all been turned into successful containers. You’re limited only by your imagination.
Drainage & Soil Mixtures for Container Plants
While you can grow almost anything in a container that you can grow in the ground, you do have to take some steps beforehand. First and foremost is to plan for drainage, which means devising a way to get the pot off the ground. You will also need to purchase the right type of potting soil.
Container Plant Drainage
If excess water can’t drain out of a container, you run the risk of a waterlogged plant—a surefire death sentence. Most pots come with holes in the bottom to allow excess water to drain. But if you’re making a container from something that started its life with a different purpose, it’s likely that it won’t.
Experienced gardeners can and do keep plants in non-draining containers alive by judiciously watering and monitoring drainage. But it’s simpler in the long run to provide an outlet for the water. The easiest way is to drill a hole in the bottom of your container. Use a masonry or carbide bit on stone, terra cotta, and concrete; be sure to drill a starter hole first to avoid cracking the pot. Lightweight lead and iron pots can often be punctured with a nail and hammer; heavier ones will need a metal bit.
If you don’t want to drill a hole in your container, choose a slightly smaller pot that has a drainage hole and plant in that. Then place that pot inside your preferred container. The smaller pot shouldn’t sit directly on the bottom of the larger container; instead, elevate it on a piece of brick, another pot, or a bed of pebbles.
Periodically remove the inner pot and drain the larger one. This method has the added advantage of making it easy to change plants in the larger container. If you want to dress up the areas between the two pots, fill in with trailing plants at the edges of the smaller container or cover it with Spanish moss.
Container Plant Growing Mixes
Garden soil is fine for the garden but not for containers. It is generally too dense and doesn’t allow for sufficient drainage in a pot. Potting mixes designed for containers will drain well yet retain sufficient water to keep the plant or plants healthy. Many also include added nutrients designed for container plants.
Potting soils can be either soil-based or soil-less. The former contains some garden loam, but also include plant food and other materials such as sand, vermiculite, perlite, or bark chips to lighten it more. Potting soils tend to be heavier than soil-less mixes, but they are better at retaining moisture and nutrients and are heavy enough to hold the plants in place. They’re the best choice for permanent container plantings and larger plants.
Soil-less mixes are made from peat or peat-like materials, along with plant food and other additives. Though they dry out and lose nutrients quickly, they’re a good choice for annuals and for hanging baskets where weight is a concern. You can also find mixes for specific plants, such as succulents, azaleas, and rhododendrons. Some potting mixes also contain water-retaining polymers and slow-release fertilizers.
Elevating Plant Containers
Getting containers even an inch above the surface below them helps them drain properly and encourages air circulation. It also helps prevent water stains if they are placed on decks or patios. You can find plain or decorative pot “feet,” small stands, or wood trivets. You can also use bricks, pieces of wood, or even other flowerpots. Some pots come with built-in feet.


 Don Vandervort writes or edits every article at HomeTips. Don has:
