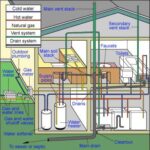
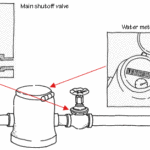
Expert advice on planning a plumbing remodel, including diagrams on where to place toilets, sinks, and other fixtures, and tips on routing supply and drainpipes
When planning any plumbing addition, you must first consider code restrictions; the limitations of your system’s layout; and, of course, your own abilities. Although it’s usually straightforward to route supply lines to a new location, tying into drain-waste-vent (DWV) pipes is a different story.
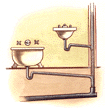
The simplest and most cost-efficient way to add a new fixture or group of fixtures is to connect them to the existing main soil stack, either directly or through a branch drain. A common strategy is to install them above or below existing fixtures on the stack, piggyback style (as shown at right), but check codes carefully for restrictions.
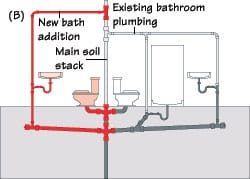
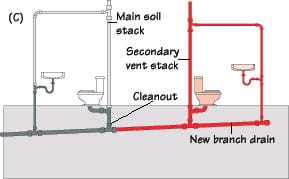
Another way is to place the new fixture or fixtures back-to-back with an existing group attached to the main soil stack (see below left). If your planned addition is across the house from the existing plumbing, you’ll probably need to run a new vent stack up through the roof and a new branch drain to the soil stack (see below right) or to the main house drain via an existing cleanout.
To save on labor costs, tie a bathroom sink, tub, or shower stall (although not a toilet) directly into an existing branch drain instead if possible. Once you’ve devised a strategy for tying into your DWV system, the next step is to study possible access routes for running pipes to the locations for new fixtures or appliances. To do that, you’ll first need to bone up on some basic house anatomy.
Three common ways to install new fixtures include above or below old fixtures on the soil stack (A), back-to-back with existing installations (B), and with a new vent stack and branch drain (C).





 Don Vandervort writes or edits every article at HomeTips. Don has:
