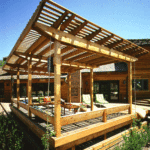
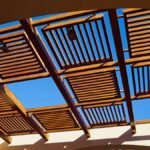
This patio roof made from corrugated polycarbonate panels and a steel frame was the perfect cover for a roof deck that needed shelter and light. Here’s how we built it.
Some decks or patios need a patio roof to make them usable. My house, for example, had an un-covered second-story slate roof deck that, on perfect-weather days, offered a sunny spot for relaxation. But throw in too much sun or a little rain and it was unusable.
Because of this deck’s southern exposure, the direct California sun baked it during the summer. In fact, on really hot days, the dark slate surface reached temperatures higher than 170 degrees F! Even worse, during last winter’s heavy rains, the surface flooded, eventually drooling water through the ceiling of our kitchen below.
Why We Chose Polycarbonate
After unfruitful attempts to find and fix the leaks in the deck, my wife, Bobbi and I contemplated covering the entire deck with a solid roof that would shed the rain. However, though we wanted to block the sun’s harsh heat, we didn’t want to lose the cheery natural light that flowed through a skylight to the kitchen below.
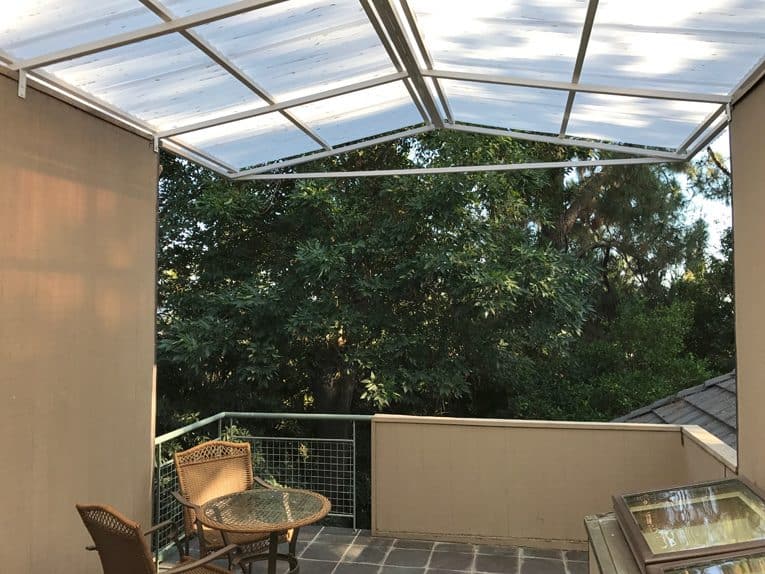
This deck was actually the perfect configuration for adding a cover because support existed on three sides. The deck nestles in a nook between three walls, so no vertical supports would be necessary for the patio roof.
Then, during a visit to a Lowe’s store, we discovered corrugated polycarbonate panels. These sturdy, attractive panels are a far cry from the green corrugated fiberglass panels that covered outdoor sheds and patios 20 years ago. Polycarbonate panels, a clear or translucent thermoplastic polymer, perform great in this kind of situation. They can handle hot, direct sun and a broad range of temperatures—from 270 degrees F. down to -40 degrees F.
Not only does the polycarbonate glow in the sun, it absorbs 99% of the sun’s damaging UV rays. In addition, properly supported polycarbonate panels can bear loads of 115 pounds per square foot. Available colors include clear, translucent white, and smoke. The 26-inch-wide panels come in 8 to 12-foot lengths and retail from about $22 to $33 each, depending upon length.
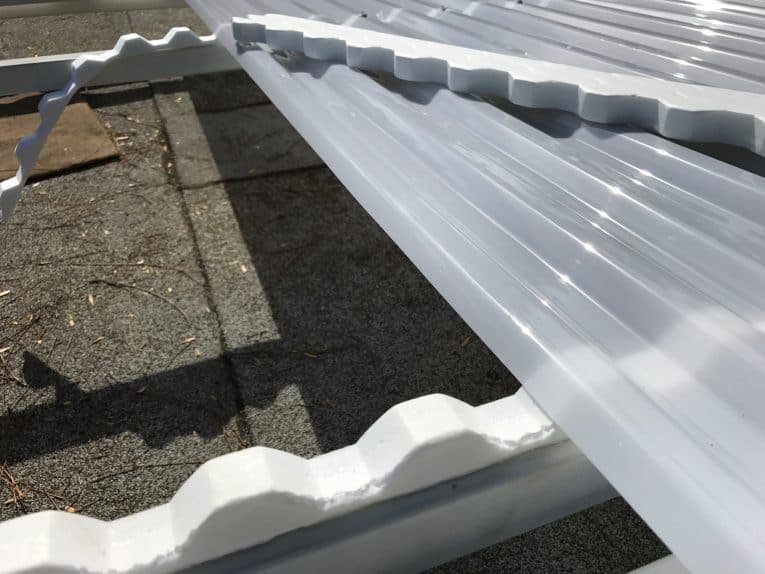
We determined that the attractive, tough, translucent white panels could diminish the harsh sun, shed the heavy rain, and allow plenty of natural light. The sturdy panels being sold at Lowe’s were Tuftex® PolyCarb™ panels made by Onduline®. We particularly liked the squared-off, half-octagon shape of the corrugations, which gave the panels a rectilinear, contemporary feel in keeping with our home’s architecture. So we chose the Tuftex® panels to solve our patio roof problem.
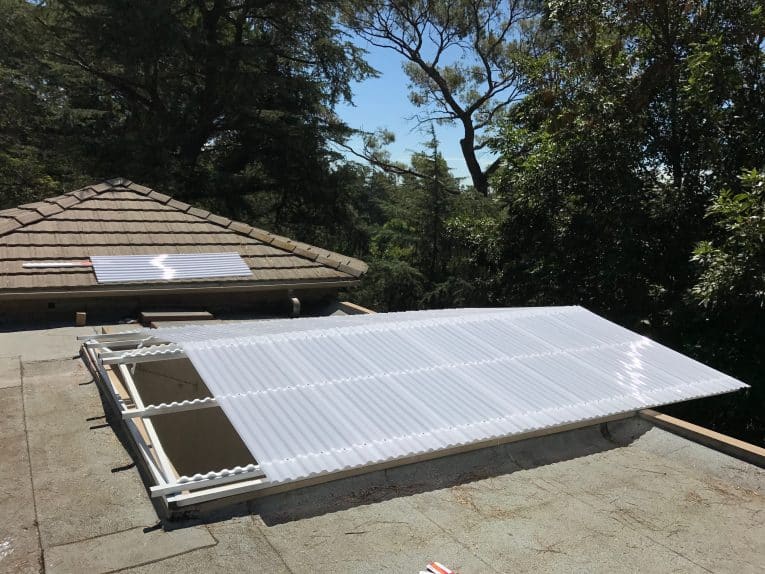
We decided not to build the supporting rafters and purlins (horizontal supports for panels) from wood, which would be typical for this kind of structure. Instead, we hired Alex Welding to weld a steel frame. We wanted a frame that would be lighter in weight and sleeker in appearance than a wood structure. This worked out great, and the translucent white roof you see here is the successful result. It’s so lightweight in appearance that it resembles a big white kite flying over the house.
How We Built The Frame
For proper water drainage, the manufacturer recommends a slope that’s at least 1 inch per foot; ideally, it should slope 2 or 3 inches per foot. Even better, our structure slopes 3.5 inches per foot. The sloping polycarbonate panels shed water onto the house roof where the existing gutters carry it away.
The steel frame’s rafters are made of square tubular steel “rafters”placed on 48-inch centers. Horizontal purlins run across the base and peak of each side of the roof. A central purlin runs horizontally across the center of each side. As a result, the polycarbonate panels, which attach to the purlins, span a maximum of 30 inches. (Where snow loads are likely, spans should not exceed 24 inches.)
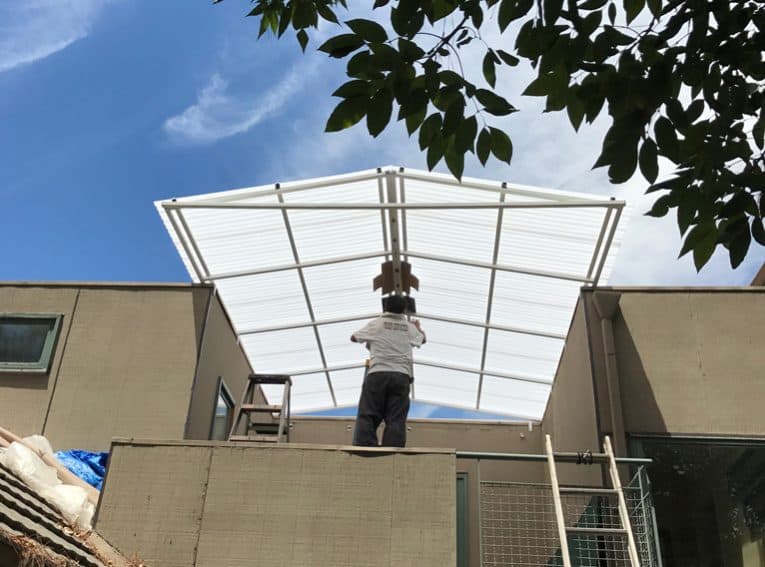
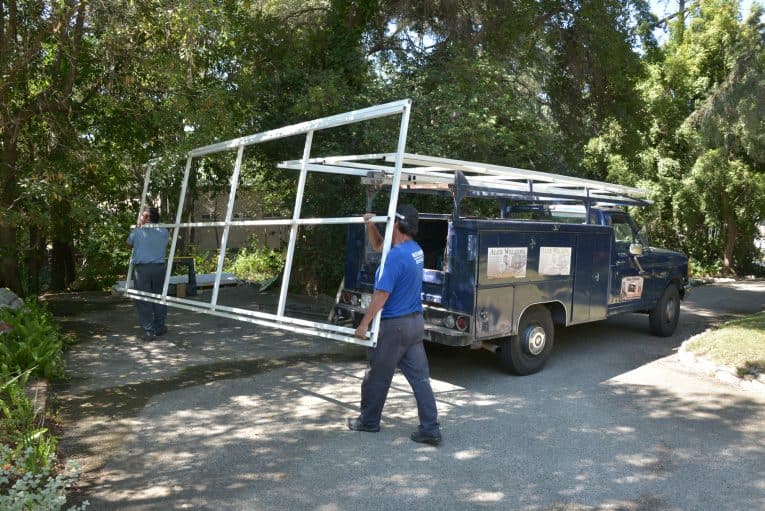
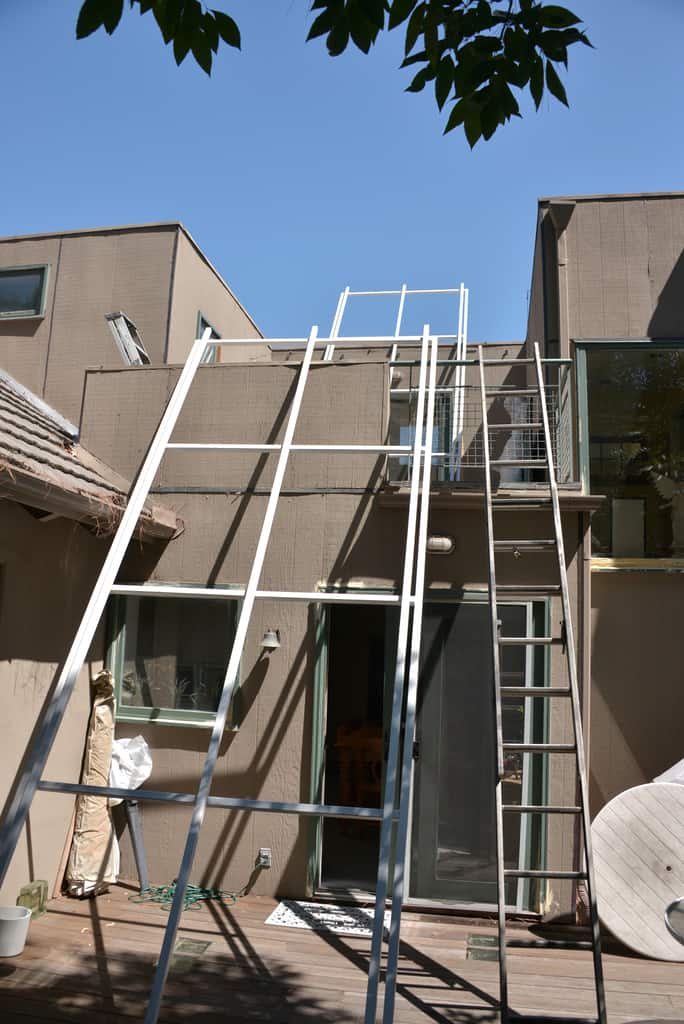
Alex Welding delivered the two main frame sections, to the site, already partially assembled and pre-painted. He and his helper and my son, Christian (who was on site to take these photos), and I hand-boosted the sections up ladders to the house roof.
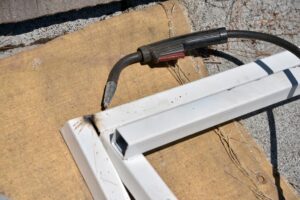
There, Alex welded the sections together and touched up the paint.
How We Attached The Panels
It was easiest to screw most of the polycarbonate panels to the steel frame while the frame was still on the house roof (not placed high over the deck).
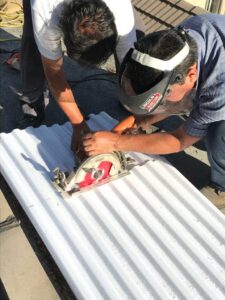
Because the panels were all the same length, Alex stacked them, and then measured and cut them, using a power circular saw equipped with a fine-toothed plywood cutting blade. (Some installers advise reversing the saw blade on the saw arbor so that it cuts with the teeth facing backwards—our cutting worked fine with the teeth facing forward.)
Before cutting, Alex marked the top panel with a felt-tip pen guided along a framing square to ensure a straight cut. Goggles or safety glasses are a must during cutting!
Foam closure strips were placed along the purlins, then the first panel was positioned on one side of the frame at the far end.
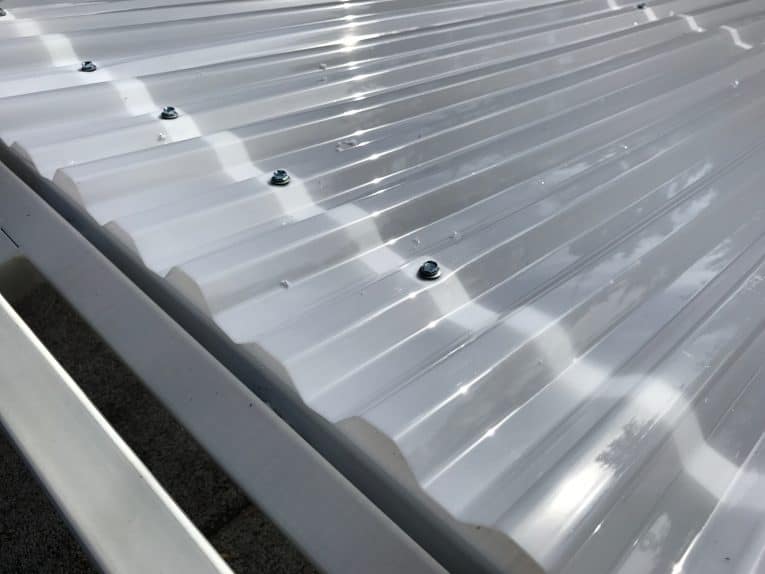
Special 2 ½-inch screws with rubber washers secure the panels to the purlins. These screws, centered on the purlins at every other corrugation, go through the crown of each corrugation’s ridge (not the valley).
If you live in a heavy wind area, fasten through every crown. The manufacturer recommends pre-drilling screw holes through the panels with a drill bit that is 1/8-inch larger than the screw’s shank to allow for expansion and contraction and to prevent “micro cracks” in the panels. When driving each screw, stop before the screw’s head crushes or dents the polycarbonate panel.
Final Placement & Anchoring
We fully assembled the frame except for the final row of panels, which made the assembly easier to carry.
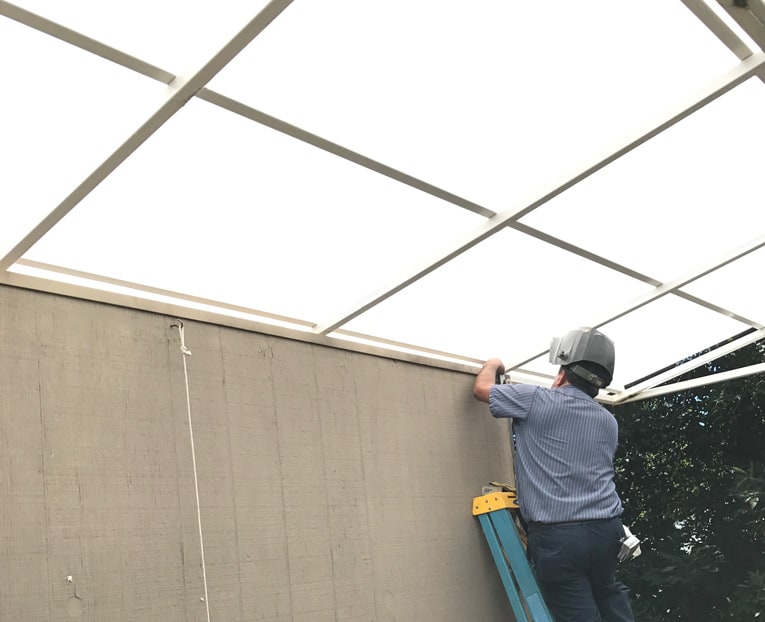
Then the four of us lifted the assembly into place—two from the roof and two from ladders below. After the frame was properly positioned over the deck, we attached the final two panels.
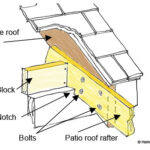
Alex welded hold-down brackets to the frame and bolted them to house to lock the new patio roof in place and protect against wind lift. Last, he touched-up bolt heads and final welds with paint.
Find a Reliable Local Deck or Patio Builder


 Don Vandervort writes or edits every article at HomeTips. Don has:
