The perfect accents for a fall garden, pumpkins are great for color, seeds, decoration, and more. Here is how to grow pumpkins and gourds, from prep to harvest.
In the fall, the stars of the vegetable garden are pumpkins and gourds. When other vegetables are past their peak, these are just hitting their prime.
Pumpkins are particularly versatile: You can grow them for decoration, turn them into pies, and roast their seeds for snacks. Plus, they’re just fun to watch grow. Their vines spread out over the garden, their flowers are colorful, and their fruits add punches of orange and white that are the perfect accents for an autumn garden.
Gourds may not have quite the star power of pumpkins, but they’re equally fun to grow. While generally not used for food, they’re great for decorations, crafts projects, and even for growing your own sponges. Gourds shouldn’t be harvested until they are fully ripe, which is late in the fall, so they add interest to the garden when other plants are fading.
Pumpkin & Gourd Varieties
Deciding on which pumpkin to grow depends on what you want to eventually do with it. You can grow pumpkins that weigh several hundred pounds, such as Atlantic Giant, Big Moon, and Prizewinner, or miniature varieties, such as Jack-B-Little and Wee-B-Little, which fit into the palm of the hand. Mid-size pumpkins, like Connecticut Field, Jackpot, and Trick or Treat, fall in between these two ranges and are good for carving.
Pie pumpkins have the advantage of both tasty flesh for baking and shells that can be easily carved. They generally weigh between 8 and 12 pounds, though smaller varieties like Baby Pam and Small Sugar weigh 6 to 8 pounds. Autumn Gold is a good choice for shorter growing seasons. While orange is the traditional pumpkin color, white pumpkins such as Casper and Lumina can add a “ghostly” presence to your garden.
Gourds fall into two categories: ornamental and hard shell. Ornamental gourds, Cucurbita pepo ovifera varieties, produce the small gourds often used in decorative displays. They’re distinguished by yellow blossoms that bloom during the day.
Hard-shell gourds, Lagenaria siceraria, are popular for crafts, as evinced by names such as Bird House, Long Handle Dipper, Large Bottle, and Wren House. They’re generally larger and heavier, and their white flowers bloom at night. A final choice is the Luffa cylindrical, also known as the loofah, dishcloth gourd, or vegetable sponge gourd.
Pumpkin & Gourd Requirements
Both pumpkins and gourds are warm-weather crops. They like a rich soil that drains well, plenty of water, and long, warm days in the sun. It’s not unheard of for a pumpkin to sprout from a compost pile.
Both also need plenty of room. Even the smallest pumpkin varieties have vines that are 6 feet long, and 20-foot-long vines are common. Gourd vines can reach 10 to 15 feet, but you can train them to grow up trellises and over arbors. Gourds can be heavy, especially hard-shell gourds, so any support needs to be sturdy.
How to Grow Pumpkins
Pumpkins like warm soil (about 65 degrees F.), so start them outdoors in late spring; you can start indoors two to three weeks earlier if your growing season is short. For vining types (check the seed packet), build hills 6 to 8 feet apart. Start with five to six seeds per hill, planted 1 inch apart and 1 inch deep. If transplanting seedlings, set two plants per hill.
Bushing types can be set in rows 3 feet apart. Sow three to four seeds 1 inch deep and 2 feet apart, and then thin to one to two plants in each cluster.
Once the soil is warm, generally in late spring, start gourd seeds outdoors. You can start them indoors earlier, but plant them in peat pots as they don’t like their roots disturbed during transplanting. Sow seeds or set transplants 2 feet apart in rows 5 feet apart, or sow seeds in hills (two plants or seedlings per hill) 4 to 5 feet apart in rows 7 feet apart.
Once established, pumpkins and gourds have similar needs. Both like a lot of water throughout their growing season, and pumpkins in particular don’t like wet leaves. Creating watering basins or furrows, or using drip irrigation, is a good choice for both. Adding mulch will also help keep in moisture and suppress weeds.
Fertilize pumpkins regularly once the blossoms have formed. Gourd growers differ on the need for fertilizer, but adding some once they start to form vines won’t hurt. To keep pumpkins or gourds off the dirt, which can lead to brown spots or rot, slide a piece of plywood or foam underneath each fruit while it’s growing.
Pests and diseases can be a problem for both crops. They’re especially vulnerable to aphids, cucumber beetles, squash bugs, and squash vine borers. They can also develop fungus problems, such as powdery mildew.
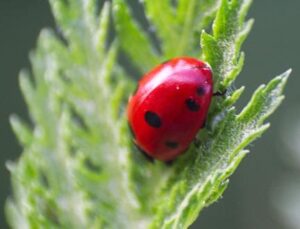
The best defense is keeping the garden clean and the plants healthy with good air circulation. Handpick insects or set traps. Or consider introducing ladybugs to your garden—they can take care of aphids naturally. Spraying with blasts of water or insecticidal soap also helps. For powdery mildew, remove infected plants, increase air circulation, and spray with either a baking soda or garlic mixture. For severe problems, try copper soap fungicides, neem, or sulfur.
A Giant Halloween Pumpkin
You may not be out to a win national prize, but you can easily have the biggest pumpkins on the block come Halloween. Some pumpkin varieties, such as Atlantic Giant and Prizewinner, are favorites among the giant growers, but it’s not so much the variety as the growing method that produces really big pumpkins.
You’ll need to start with the basics: a sunny spot, fertile soil with good drainage, and plenty of water. The largest pumpkins are produced when the fruit doesn’t have competition for nutrients, so start by leaving only two main stems on the plant. Once the fruit starts to swell, remove all but one from each stem. Fertilize regularly once the flowers appear, and keep the plant well watered.
To encourage more root development, which in turn encourages the plant to take in more water and nutrients, create a 4-inch-wide hill every couple of feet along the length of each stem so the vine can root.
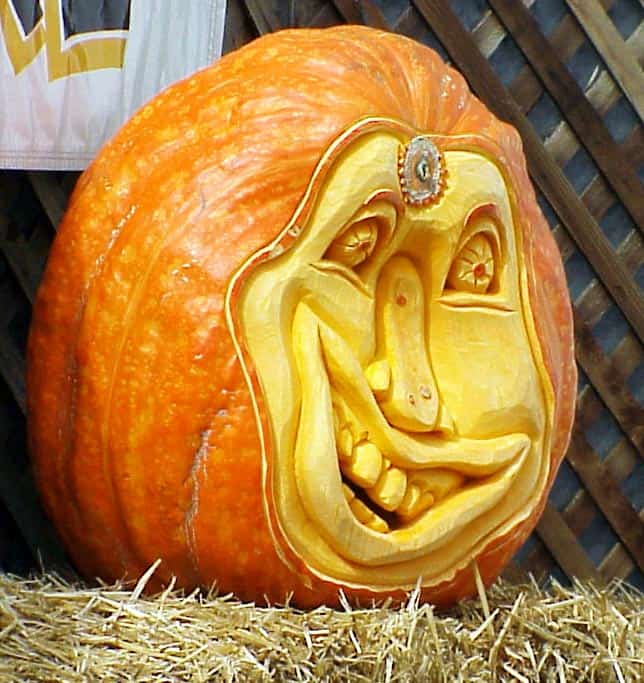
Interested in carving pumpkins for Halloween. Check out these amazing Halloween pumpkins!
Harvesting Pumpkins & Gourds
Pumpkins are ready to harvest after three to four months. It can be late in the growing season, but before the first hard frost. Shells should be hard, and the color should be even throughout. Cut the stems with shears, leaving about 2 inches attached, and gently lift the fruit.
Pumpkins can be stored for some time, but don’t bring them into a cool area immediately. Instead, leave them outside in the sunshine, or indoors in a warm and well-ventilated place for a week or two. Then store them at a cooler temperature, around 50 degrees F.
Gourds can linger for some time in the garden, and some growers in milder climates will leave them in place into winter. They’re ready to be picked when the tendrils next to their stems are dead and the stems have turned brown. Cut gourds from the vines with a sharp knife or scissors, leaving 2 to 4 inches of stem attached. Handle gourds carefully, as they can bruise easily. Clean with soap and water, and dry carefully.
Place ornamental gourds in a dark and well-ventilated spot—making sure they don’t touch—for about a week until the surface is dry, the skin hardens, and the color is set. They can be set on trays or hung to dry. Once the surface is dry, keep the gourds in a dark, warm area with good air circulation for at least four weeks.
Also, monitor gourds. If mold appears on the outside, wipe it off; if they start to decay or shrivel, or if soft spots appear, discard them. If laid flat, turn them once a week. The gourd is dry when it feels lighter than when harvested and the seeds rattle inside.
Hard-shell gourds are dried the same way, but the process takes many more weeks, if not several months.
Once the gourds are dry, clean them carefully with soapy water. If you plan on painting hard-shell gourds, you can use very fine sandpaper or steel wool to clean them, but you may leave scratches. If not painting, you can simply coat them with paste wax.
NEXT SEE: You Won’t Believe These Halloween Pumpkin Creations!




 Don Vandervort writes or edits every article at HomeTips. Don has:


