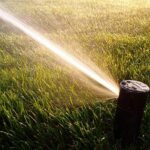
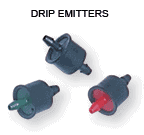
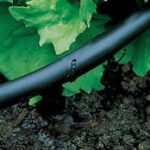
This guide will teach you how to install lawn drip irrigation subsurface, a way to water your lawn efficiently and conserve water.
Subsurface drip lines are one solution for lawns that are difficult to water efficiently, such as those with narrow strips of grass, steep slopes, or unusual shapes. Using an underground drip system to irrigate your lawn can save water since none is lost to evaporation or overspray, discourage weeds, and reduce turf disease.
Subsurface Drip System
Subsurface drip won’t work for every lawn, however, especially those with extensive tree-root systems or a population of gophers or moles.
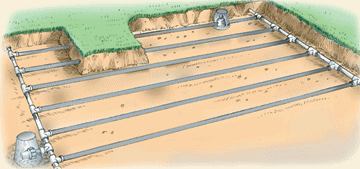
Subsurface drip systems use an emitter line treated with herbicide (to prevent roots from growing into the tubing) placed parallel to each other about half a foot below the soil. It’s easier to install the system before laying down a new lawn, but you can dig trenches to add one to an existing landscape.
The placement of the emitter line depends on the type of soil and the slope of the lawn. In sandy soil, use lines with emitters spaced every foot, and space the lines about a foot apart. For clay, use lines with fewer emitters, and space the lines about 18 inches apart.
On slopes, place the lines closer together at the top and further apart at the bottom since even underground water will flow downhill. Place emitter lines no more than 4 inches from hardscaping or you will end up with dry spots around the edges.
Use PVC headers on both ends to connect the emitter lines. Add an automatic flush valve in a valve box at the header furthest from the main water supply to flush debris from the tubing after watering. To keep the system from sucking debris into the pipes, place an air vent at the highest point in a valve box that drains well.




 Don Vandervort writes or edits every article at HomeTips. Don has:

