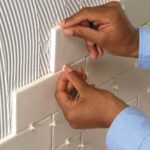
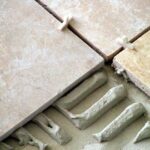
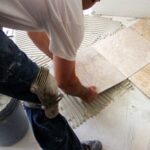
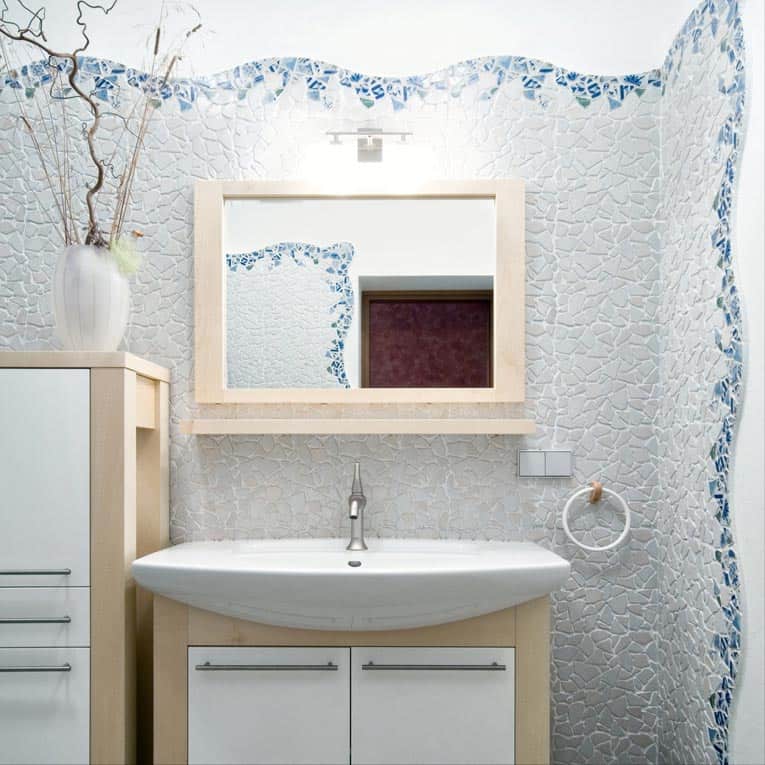
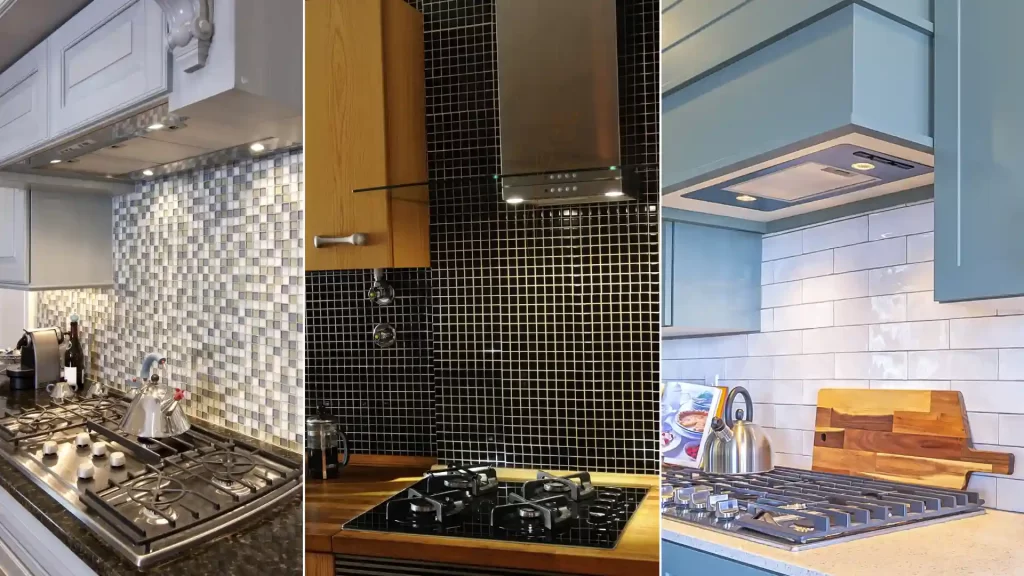
Mosaic tiles may be glazed ceramic, unglazed ceramic, marble, or granite. Though classic mosaic is made from individual pieces of tile fitted together in patterns like a jigsaw puzzle, modern mosaics come on paper- or plastic-backed sheets that are typically 1 foot square. Because there are so many grout lines, a mosaic floor is slip-resistant even if the tiles themselves are slick.
Prepping for Mosaic Tile
Some of the prep work for installing mosaic tiles is the same as for regular ceramic tile (see How to Install a Ceramic or Stone Tile Floor) and some is easier. Though the tiles themselves are unlikely to crack, the grout will crack if the subsurface is not very firm, so if you plan to install them on a floor, jump on the floor to make sure you feel very little flex, or call in a pro if you are unsure.
Remove any obstructions like plumbing fixtures and base shoe or molding. Take down any high protrusions and fill in large low spots; small indentations can be filled in when you apply thinset or epoxy mortar.
Installing out mosaic tiles is easier than ceramic tiles since you don’t have to worry about ending up with a row of narrow tiles. However, you do want the tiles to be parallel with visible abutting walls. If walls are not parallel or at right angles to each other, the tiles along one or more wall will not be parallel. Plan so these non-parallel joints are not highly visible. Snap two or more perpendicular chalk lines against which you will set the tiles.
Cutting Mosaic Tiles
In most cases, you need only remove some tiles from a sheet. Simply cut away the backing with a utility knife. If you need to cut an individual tile, use a nibbling tool. If the tiles are 1 1/2 inches or wider, you can use a snap cutter. For more about cutting tile, please see How to Cut Ceramic Tile.
Setting Mosaic Tile
It can be tricky getting all the tiles to stick without having mortar ooze up through the joints, creating a mess that is difficult to clean, so take your time to install them carefully.
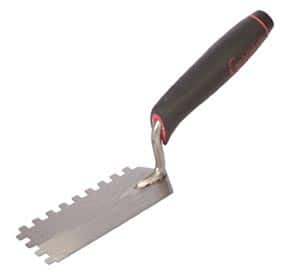
Consult with your dealer to choose the right size notched trowel; usually, a square-notched 1/2-inch trowel is best. Use high-quality latex-reinforced mortar or even epoxy mortar. Mix a batch that is fairly wet yet firm enough so the tiles will not sink down into it. Spread the mortar with the flat side of the trowel and then comb with the notched side. This is discussed in depth in the article Applying Thinset Mortar for Tile.
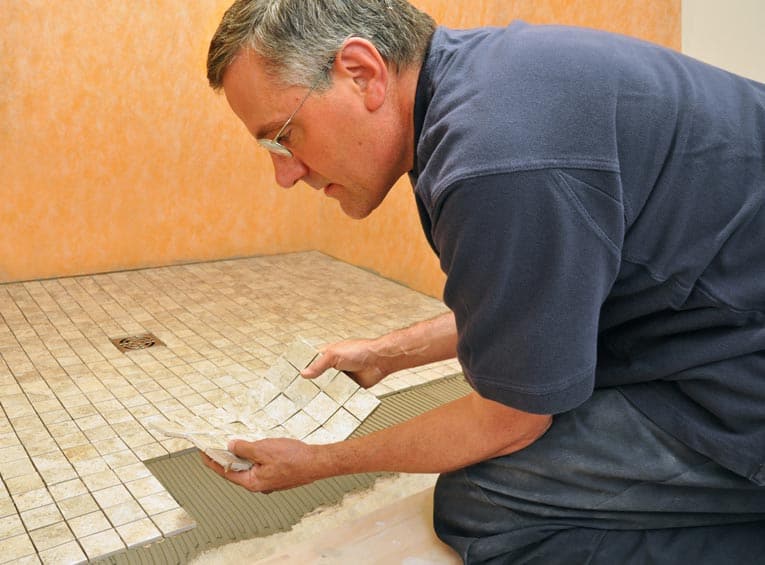
Carefully set the mosaic sheets into the mortar; you cannot slide them more than a quarter-inch or so. Place a piece of plywood on top and gently press the sheets into the mortar. Every so often, pick up a sheet and make sure all the tiles are sticking to the mortar. If not, use wetter mortar, or press more firmly.
Remove any globs of squeezed-up mortar as you work as it will be difficult to remove them later without dislodging the tiles.
Grouting Mosaic Tile
Allow the mortar to dry completely and then apply grout using a laminated grout float. Holding the float nearly flat, press the grout into the joints. Tilt the float up and squeegee away the excess.
Use a large, damp sponge to gently wipe away the rest of the grout from the tiles, taking care not to dig into the grout in the joints. Continually rinse the sponge with clean water, and go over the surface several times. Where needed, apply a bit more grout. The next day, buff the surface with a dry cloth. For more about grouting, please see see How to Install a Ceramic or Stone Tile Floor.





 Don Vandervort writes or edits every article at HomeTips. Don has:
