Learn how to lay a stone tile floor with this expert DIY guide. Covers layout considerations, plus cutting, installing, and grouting stone tiles.
Porous tiles with a nearly sponge-like surface are growing in popularity. But be aware that these stain easily, so plan on applying sealer or wax every year or so. Many polished stone tiles-especially marble-also soak up stains.
Informal-looking soft stones are usually installed with wide grout lines —3/16 inch or wider—while polished granite or marble tiles typically use joints as thin as 1/16 inch. If polished tile is marble or another soft stone, you must use unsanded grout, which means that the joints must be 1/8 inch or narrower.
Stone Tile Layout
The subfloor must be very firm or the tiles or grout will crack. With marble and other very soft stones, the firmness requirements are more stringent than for ceramics.
Ceramic tiles are usually laid on a plywood-and-backerboard surface; soft stones generally require a concrete slab instead.
Consult with your dealer or a flooring professional to make sure your floor is strong enough if you are unsure. Granite is much stronger than marble, though certain types of marble are stronger than other types. Travertine and onyx are no stronger than marble.
Some stone tiles are fairly thick, so take that into consideration when planning for the height of the floor. In most cases, you want to keep the threshold from one room to the next less than 1/2 inch.
As with ceramic tile, lay out stone tiles carefully to avoid a conspicuous row of narrow tiles. Many stone tiles are square or rectangular, but other shapes are available. You may choose to use several different colors and shapes on the same floor. You can even buy an ensemble of stone tiles that form a medallion or other design.
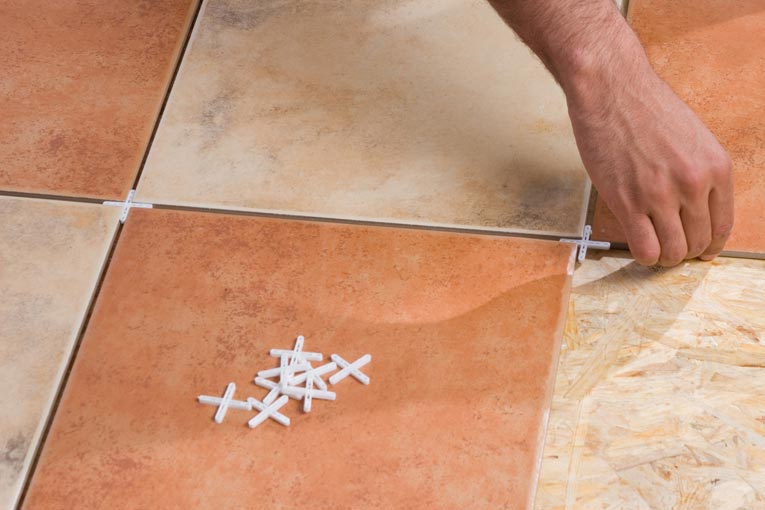
Work on graph paper and then lay some of the tiles on the floor, with plastic spacers, to make sure you’ve got it right. If the tiles are irregular in shape, you can simply snap chalk lines to make a grid on the floor, with each grid section holding nine tiles. Then you can just “eyeball” the grout lines.
Cutting Stone Tile
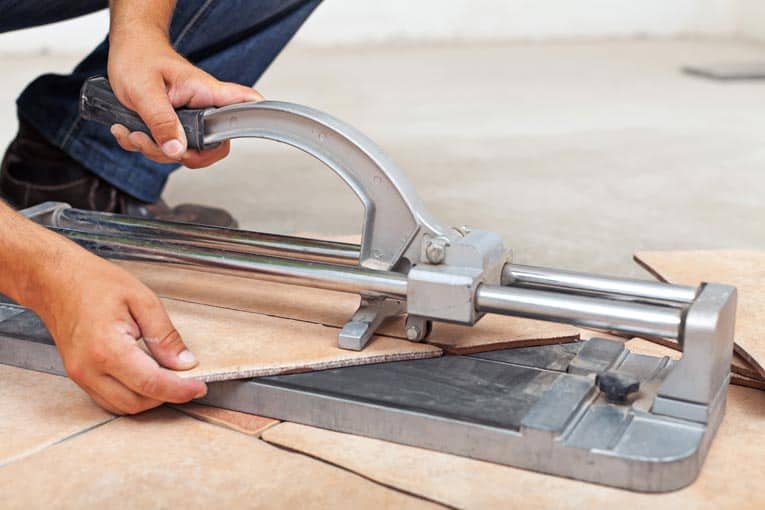
Stone can be cut using a wet saw. If you have thin marble or other soft stone, an inexpensive model will do fine. If you need to cut a good number of hard tiles such as granite, it’s best to rent a professional model.
Installing Stone Tiles
Polished tiles with 1/16-inch joints must be installed perfectly level, so you may want to hire a professional rather than doing it yourself. Tiles with wider joint lines also should be level, but precision is not as crucial.
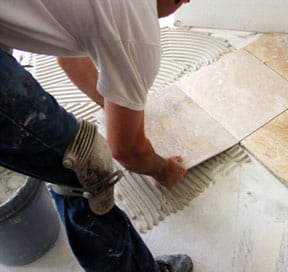
Because the steps for installing a stone floor are basically the same as those for installing a ceramic tile floor, please refer to the article How to Install Tile Floors for more detail about the process.
Before you dive into this project, check out this good video by Ron Hazelton. It shows many of the basics and procedures that will gain you a quality, successful job.
Grouting a Stone Tile Floor
If the type of tiles you have chosen are porous, use a small brush to apply stone tile sealer to the surface—but not the edges—of each. Otherwise, grout will adhere strongly to the surface and be difficult to clean.
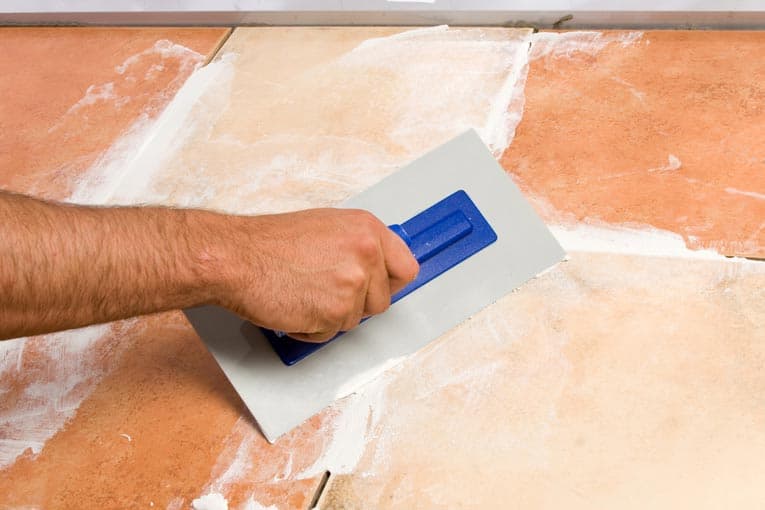
Apply grout with a laminated grout float and then gently wash the tile surfaces with a damp sponge or towel and repeatedly rinse with clean water. For more about grouting, please see How to Install Tile Floors.




 Don Vandervort writes or edits every article at HomeTips. Don has:


