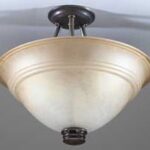
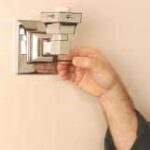
Learn how to install ceiling lights with this helpful DIY guide, which covers removing old fixtures, connecting, securing the canopy, and finishing touches.
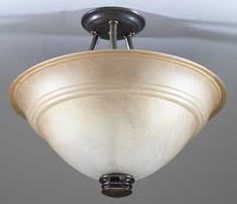
By the time a light fixture wears out to the point where it no longer works properly, it’s usually time to update the look. Fortunately, replacement is easy, although a new fixture may have mounting hardware that does not match your existing hardware.
If you have to install new mounting hardware and the fixture is heavy—a large chandelier, for example—be sure to mount the hardware to the ceiling joists, which can handle the weight. If there are more than two black and white wires for the wiring connection, label the wires with tape before detaching them from the old fixture.
To replace a fixture, first shut off the power to the circuit. Be aware that, although you’ve turned off the circuit and the switch doesn’t operate the light, there may be live (hot) wires in the ceiling box. Don’t touch any bare wires until you can test them with a circuit tester to make sure they’re off. See How to Test an Electrical Circuit.
- Understanding Color Temperature in Home Lighting
- Light Up Your Look—Stylish Vanity Mirrors with Lighting
- Smart Home Upgrade: The Best Motion Sensor Lights for Security and Convenience
- Dining Room Lighting Delights—Illuminate Your Space with Style
- Stylish Floor Lamps—Light Up Your Living Room
- Chandelier Chic—Illuminate Your Rooms with Style and Grace
To test the wires at the light fixture, you’ll need to unscrew the bulb and then remove the nuts that hold the ceiling canopy or fixture in place. Carefully lower the canopy or fixture to expose the wires. Unscrew the wire nuts (without touching bare wire ends). Place the two probes of a circuit tester on the white and black wires simultaneously to be sure they’re off. Then lower the fixture away from the wires.
Install the new fixture according to the package directions—in most cases, you just strip about 1/2 inch of the protective insulation from the new wire ends, twist them together with the circuit wires (white to white and black to black), and finish by twisting on the wire nuts. Many fixtures also have a grounding screw that should receive a bare grounding wire.
Step-by-Step Light Fixture Installation
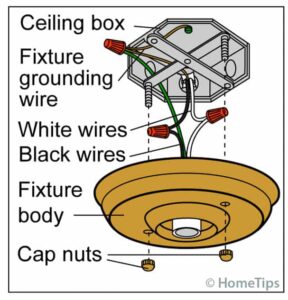
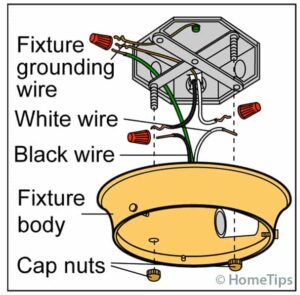
1. Remove the old fixture and attach mounting hardware if necessary. A surface-mounted light fixture attaches to a grounding bar that is first screwed to the nonmetallic housing box. You want to only loosely fasten the mounting bolts to the grounding bar until it’s time for the final tightening.
2. Make the connections. First, splice the black fixture wire to the circuit hot wire. See also How to Cut & Splice Electrical Wires. Next, connect the white fixture wire to the incoming neutral wire. Secure the grounding wire from the light fixture to the grounding screw on the grounding bar.
3. Secure the canopy. Carefully fold the wires, without pinching or crimping them, into the housing box, and then secure the canopy to the box. Most light fixtures have slots or holes for the mounting bolts to slip into. Once you have located these slots and slid the bolts through them, push the canopy into place and tighten the bolts.
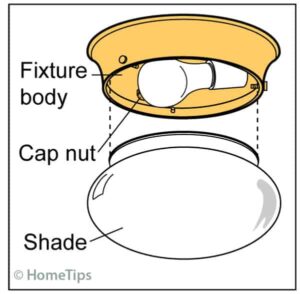
4. The finishing touches. Screw in a lightbulb (or bulbs) into the socket(s), and then fit the globe into place, slipping the long center hickey through the hole in the globe and securing it snugly with the threaded end piece. Switch the breaker back on to supply power to the light fixture, and then flip on the light switch.





 Don Vandervort writes or edits every article at HomeTips. Don has:

