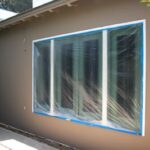
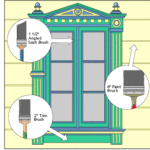
Step-by-step DIY tips to help you in preparing exterior trim for painting, from cleaning to sanding to stripping the woodwork.
When it comes to damage from sun, rain, and wind, one of a house’s most susceptible elements is its wood trim, and few things look shabbier than cracking, peeling paint.
At the very least, preparing exterior trim and siding for painting involves thoroughly cleaning, lightly sanding, and priming the surface. It may also require scraping, stripping, reglazing, wire brushing, filling, and caulking.
Preparing Exterior Trim for Painting, Step-by-Step
Start by scrubbing off all dirt and chalking paint with a scrub brush and a solution of trisodium phosphate (TSP).
Rinse the trim thoroughly, and allow it to dry completely before preparing the surface for primer and paint.
Here are some other things you may have to do to prepare your trim for paint:
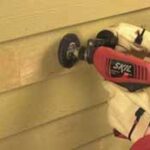
1) Scrape and/or disc sand any woodwork that has peeling paint, graduating from rough- to fine-grit paper. Wear safety goggles and a dust mask or respirator.
2) Blister the paint with a heat gun, and then peel it away with a putty knife. Keep a hose nearby as a precaution.
3) Tap out old window glazing compound that is cracked or brittle.
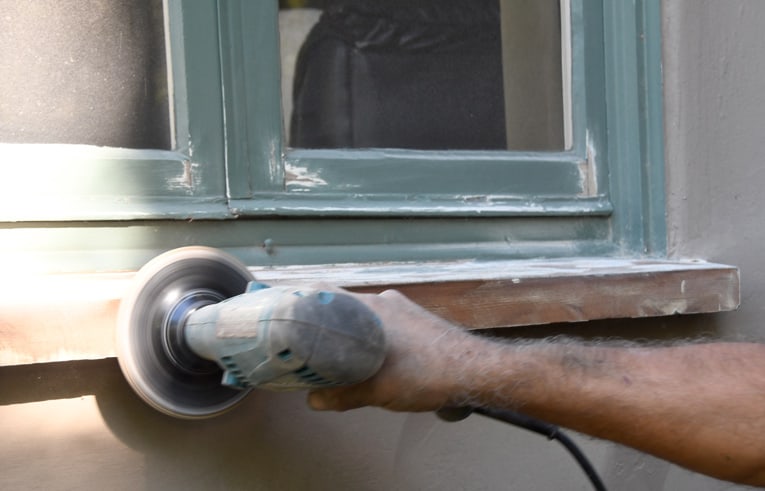
4) Power sand the windowsills with a disc sander or palm sander, graduating from rough- to fine-grit paper.
5) Fill cracks and holes with a vinyl exterior spackling compound, and sand the surface when dry.
6) Spread new glazing compound along the window frames at an angle and let it cure.
Primer seals the surface and provides a base to which the paint can adhere. Slow-drying alkyd-base primers are your best bet. On partially bare wood, apply two coats of primer. To help the paint cover, have your primer tinted with some of the finish color.
Featured Resource: Find a Local Painting Pro




 Don Vandervort writes or edits every article at HomeTips. Don has:
