Change any room into a professional recording studio with soundproofing techniques that eliminate unwanted noise and capture crystal-clear audio.
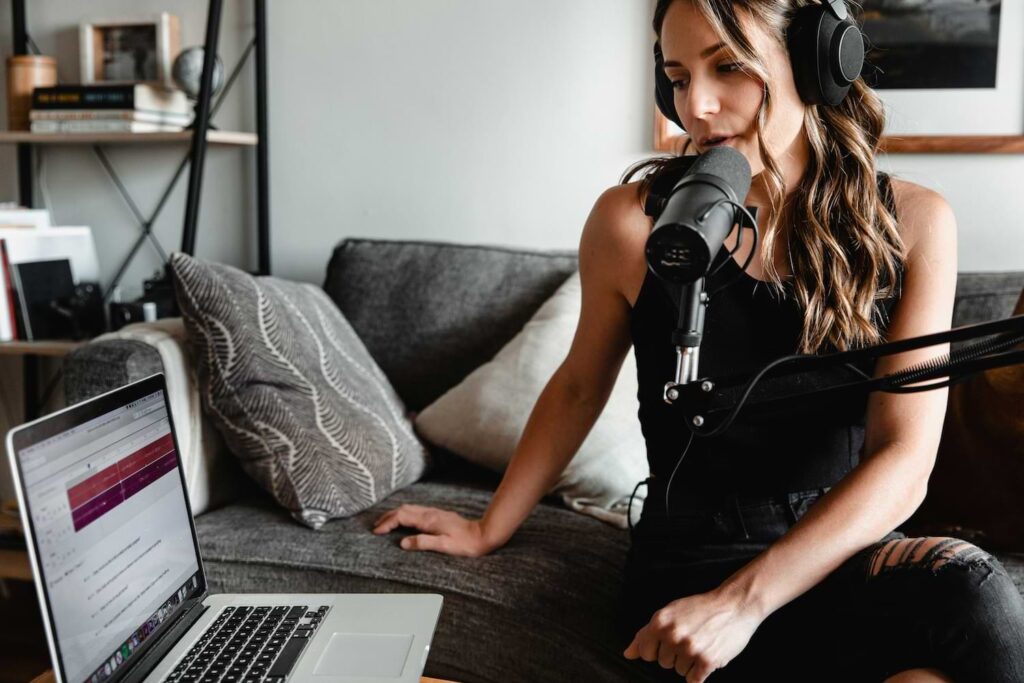
Are you interested in recording or podcasting at home? If so, having a quiet space in your home is no doubt a goal. Whether you’re a musician, voice-over artist, or podcaster, a well-soundproofed space is important for capturing high-quality audio without unwanted noise. In this article, we’ll look at important principles and techniques for soundproofing a room that you can use for recording or podcasting. You’ll learn how to isolate your space to prevent unwanted noise and control acoustics for clean, balanced sound.
How to Build Acoustic Panels
If you want to make you own acoustic panels for absorbing unwanted noise at a cost of less than $20 each, watch this detailed, easy-to-follow video:
Soundproofing Strategies for Recording & Podcasting Spaces
Here are the basic techniques for creating a soundproofed recording space:
Asses Your Space
To do this, first figure out where the noise is coming from—outside traffic, appliances, or even people walking around on the floor above, for example. Also find areas that may be prone to sound leakage, like gaps around doors, windows, and electrical outlets.
Treat Your Walls and Ceiling
Use acoustic panels, bass traps, and diffusers o control noise on ceilings and walls:
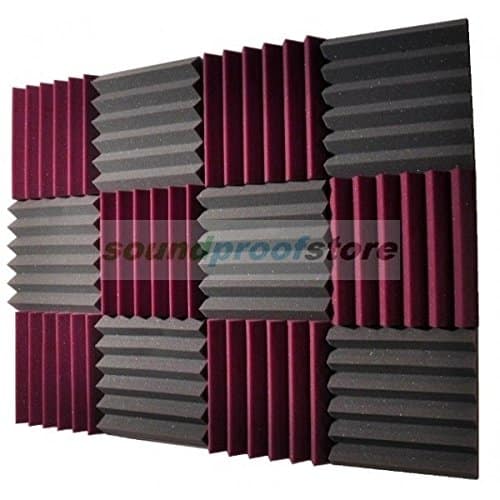
Acoustic panels. Buy acoustic foam panels to absorb sound reflections on surfaces that are most likely to bounce sound (like the wall behind you or opposite your speakers).
Sound deadening acoustic panels offer studio-quality sound proofing. These home-theater style soundproof foam tiles are available in lots of colors. Shop for sound proofing acoustic deadening sound tiles on Amazon.
(For more details on acoustic panels and their installation, refer to our article on Soundproofing Your Walls: Expert Tips and Techniques.
Bass traps. Place sound-absorbing bass traps in corners to control low-frequency buildup, which can muddy your recordings. These are designed to control challenging low-frequency sound waves (often called “bass frequencies”). They typically cost $50 to $200 each and are available online at Amazon or at some music stores or large home improvement centers.
The type of bass traps you buy and where you put them will depend on the specific acoustics of your room and the frequencies you need to control. Experts often recommend starting with corner bass traps and then adding “panel traps” on walls or ceilings.
Acoustic diffusers. Acoustic diffusers will scatter sound waves to balance the sound in the room. They have irregular or textured surfaces that break up and scatter sound waves. You put them on walls or ceilings where sound waves would otherwise bounce back towards the microphone. Generally, you can expect to pay from $50 to $300 or more per diffuser online at Amazon, at music stores, and at some home improvement centers.
Upgrade Your Door
The door is usually the most likely place for noise to enter your recording space. To solve noise problems, replace any hollow-core doors with solid-core doors for improved sound blocking. If budget allows, you might even invest in specialized soundproof doors designed for maximum noise isolation.
Install weatherstripping around the door frame and a door sweep at the bottom to prevent sound leakage. (Refer to the HomeTips article on the Best Types of Doors for Soundproofing for detailed information). You can buy soundproof door supplies online at Amazon.
Address Your Windows
If feasible, replace your existing windows with soundproof windows for maximum noise reduction. Or, consider adding window inserts as a more affordable alternative to replacing windows entirely (although these can run $25 to $40 per square foot). Made from thick acrylic or glass panels (sometimes with laminated layers for added sound dampening), soundproofing window inserts are essentially secondary window panes that are installed on the inside of your existing windows. They create an additional barrier between your living space and the outside world, significantly reducing noise transmission. When installed, they are custom-fit to your window frame, creating a tight seal to minimize sound leakage.
Or, you can hang thick, heavy curtains or acoustic blankets over windows to dampen sound. (Learn more about window soundproofing options in our article on Soundproofing Windows: Keep the Noise.
Flooring Considerations
Place thick rugs or carpets on the floor to absorb noise and reduce sound transmission to the space below.
If you’re building or renovating the space where you’ll be recording, consider installing a floating floor. Because this type of floor sits on a foam pad (instead of being glued or nailed down), it cuts down on impact noise.
Rubber mats or acoustic interlocking floor tiles placed under heavy equipment or furniture will also help cut down noise by dampening vibrations. (For in-depth information on soundproofing floors, refer to our guide on How to Soundproof Between Floors).
Additional Tips
When creating a soundproof recording or podcasting space, you might need to mitigate other types of noises:
HVAC Noise
Reduce rumbling and other noise made by furnaces and air conditioning systems by using duct silencers, duct liners, and related equipment. Talk to an HVAC contractor about installing these.
- Duct silencers or fiberglass duct liner. Installed within the ductwork, these reduce noise that travels through ductwork. They come in various types, such as rectangular or cylindrical, and are typically lined with sound-absorbing materials like fiberglass or mineral wool. Buy on Amazon.
- Plenum silencers. Installed in the plenum (the main air distribution box), these silencers reduce noise generated by the air handler or fan. Buy on Amazon.
- Louver silencers. These are used to reduce noise transmission through ventilation openings or grilles. They consist of sound-absorbing baffles arranged in a specific pattern to attenuate noise while allowing airflow.
- Mass loaded vinyl (MLV) liner. For even greater noise reduction, consider using MLV liner in conjunction with fiberglass duct liner. MLV adds mass to the ductwork, making it harder for sound to vibrate through it.
- Vibration isolation pads or mounts. Placing the air handler or other HVAC equipment on vibration isolation pads or mounts can significantly reduce the transmission of rumbling, humming, or other vibrations through the building.
- Flexible duct connectors. Using flexible duct connectors between the AC equipment and the ductwork can further decouple the system and minimize vibration transfer.
- Enclosures. In some cases, enclosing the air handler or other noisy equipment within a soundproof enclosure can be an effective solution. Enclosures are typically constructed from sound-blocking materials like drywall or plywood and lined with sound-absorbing materials.
Electrical Outlets and Switches
Noise can travel from one room to another around and through electrical boxes used for outlets and switches. Seal sound-leaking gaps around electrical boxes with acoustical sealant or pliable putty pads made for this purpose.
Microphone Placement
Experiment with microphone placement and techniques like pop filters and reflection filters to optimize sound quality and minimize unwanted noise.
DIY vs. Professional Soundproofing
While you might be able to handle minor soundproofing as DIY projects, more extensive renovations or complex acoustic treatments usually call for professional assistance. Consulting with an acoustical engineer or soundproofing specialist is the best way to design and implement effective solutions.
Remember: Soundproofing is a process. Start with the most significant sources of noise and gradually improve from there, based on your needs and budget.
Additional Resources:
- How to Soundproof a Room
- Soundproofing Your Walls: Expert Tips and Techniques
- The Best Type of Soundproofing Doors
- Soundproofing Windows: Keep the Noise
Let us know in the comments if you have any specific soundproofing challenges or questions, and we’ll be happy to help!




 Don Vandervort writes or edits every article at HomeTips. Don has:
