Testing the system and backfilling the trenches are the finishing touches to sprinkler installation.
Once your sprinkler system is installed, it’s time for the finishing touches—testing the system and filling in the trenches.
To test the system, make sure all faucets and water-using appliances inside and out of the house are turned off and that the irrigation system’s valve is in the open position. Set the timer on manual and turn on the first station. Check that all the sprinkler heads are spraying completely, are directed where you want them, are providing even coverage, and are not obstructed by plantings or other obstacles. Repeat with all the other stations in turn.
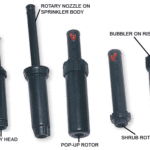
To redirect a sprinkler head, simply tweak the sprinkler body or riser. To control the throw of the spray, turn the adjustment screw at the top of the sprinkler head. To adjust the arc of a rotor unit, refer to the instructions from the manufacturer.
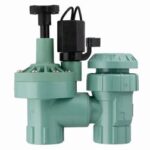
If a station doesn’t come on at all, check the connections and check that the valve was installed correctly. If a station comes on but a sprinkler head is malfunctioning, remove it and make sure it’s not clogged. If it isn’t, take another look at your schematic to make sure that the sprinkler head is on the station you’re testing.
If two or more sprinkler heads in the same vicinity have a weak spray, check that station’s allowable flow to see if you have to many sprinkler heads for that station. If this is the case, you will either have to change your schematic or see if you can get by with few sprinkler heads.
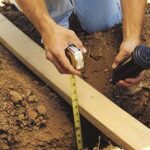
Only after you’ve worked out all of the system’s bugs should you backfill the trenches. Place the original soil into each trench to the sod line and then fill the trench with water to compact the soil. Continue to add soil and tamp it down until it remains at the sod line. Finally, replace any sod you may have removed.





 Don Vandervort writes or edits every article at HomeTips. Don has:
