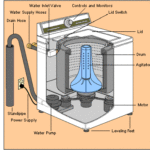
If your laundry room is set up with the correct plumbing, installing a new washer is a snap. Just follow the instructions given here.
Replacing an old washer with a new one is an easy task, as outlined below. Basically, it involves:
- Confirm the plumbing is ready.
- Measure the doorway and plan the washing machine’s placement.
- Move the washing machine into the room with a helper.
- Level the washing machine, if necessary, by turning the front feet up or down.
- Connect water supply hoses from the washer to the hot and cold valves.
- Put the discharge hose into the drain standpipe.
- Plug-in the washer.
Before you buy a new washer, be sure it will fit through the doorways that it must pass through on its way to the laundry area. As discussed in the article, Buy the Best Washing Machine, some washers are up to 30 inches wide.
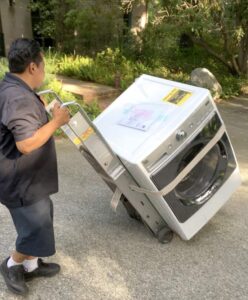
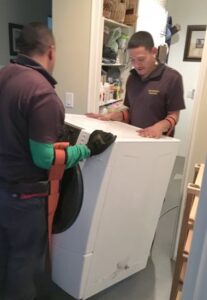
Have a helper and an appliance hand-truck on hand for moving the washing machine—it will be heavy! Note in the photo how professional delivery people use specially-made heavy-duty straps to ease carrying a washing machine where a hand truck can’t be used easily.
Load the washer on the hand truck sideways so it’s narrowest dimension will fit through doorways.
If you’re installing a washer in a new location, you will need to run hot and cold water supply pipes to the connection point and terminate each with a shutoff valve and possibly a water-hammer arrester to prevent the pipes from banging when the washer’s fill cycle kicks on.
If there is an existing laundry sink, you can hook the washer’s drain hose over the sink’s edge.
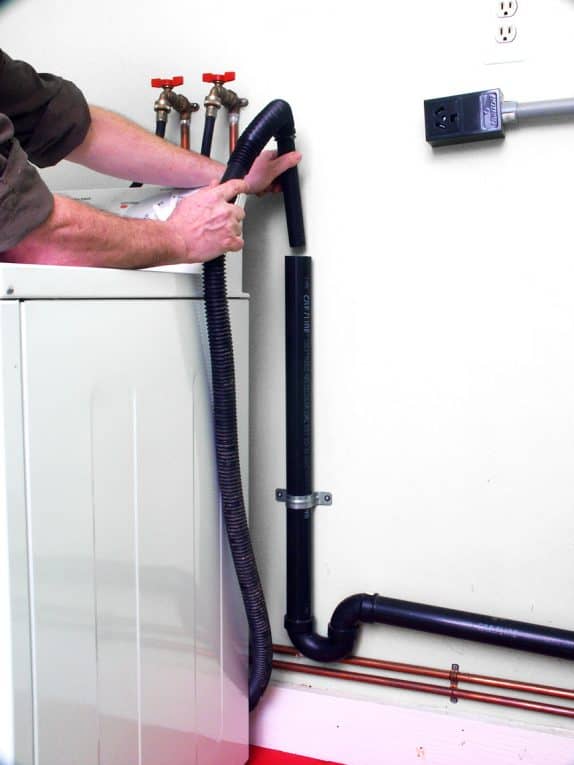
Otherwise, the washer will need to drain into a standpipe, a 2-inch-diameter pipe with a built-in trap that taps into the nearest drainpipe.
The top of the standpipe should be between 18 and 30 inches above the trap (some codes allow up to 42 inches). The trap should be 6 to 18 inches above the floor.
Standpipes are available with built-in traps or can be assembled using standard drainpipe and elbow fittings.
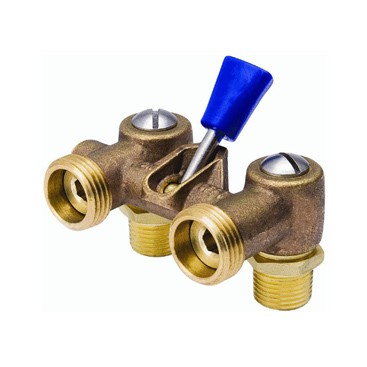
A single-lever valve is an alternative to conventional washing machine shutoff valves.
With this type, you just flip the lever to shut off the water supply. Because the hoses that connect a washing machine can leak or burst, this is a good way to prevent an unexpected flood when you’re away from the house. (Just be sure to turn the valve on before running the washer.)
How to Connect a Washing Machine
Here is a simple, short video on how to hook-up a washing machine. However, here are a couple of caveats to the methods he uses. First, don’t apply “plumber’s tape” to the threads and don’t over-tighten the connections of the hoses to the washing machine. The hoses should readily seal because of the rubber washers inside the connectors. Turn on the water and check for leaks before you push the washer back in place.
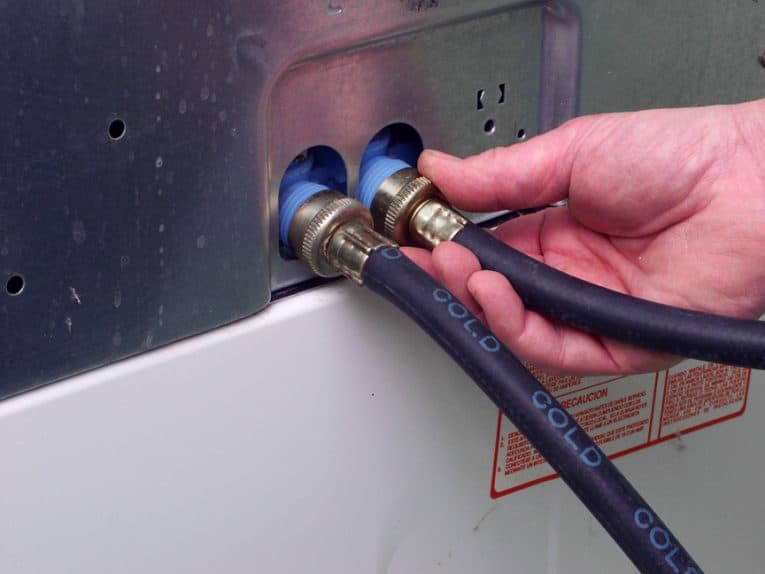
1 Screw the washing machine’s water supply hoses onto the connections at the back of the washing machine. If the hoses are marked, be sure to note which will go to the hot and which will go to cold water valve. Don’t over-tighten.
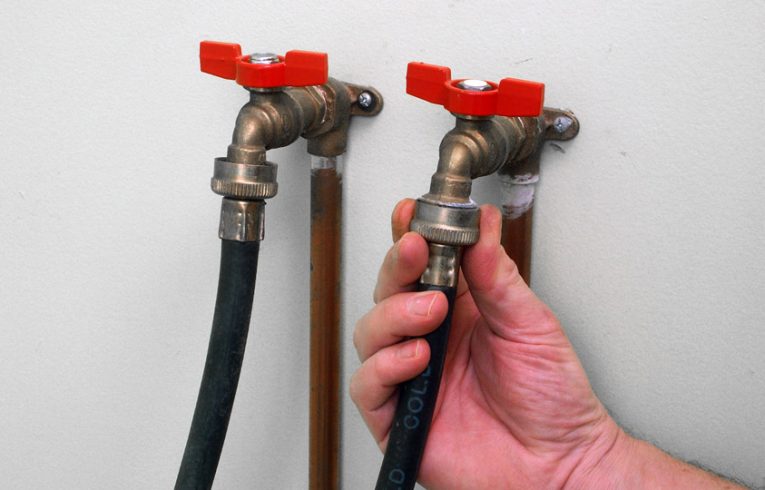
2 Connect the washing machine supply hoses to the proper valves (again, be sure that you connect them to the right valves). Scoot the appliance into place. Level the top of the machine, adjusting its front feet as needed.
3 Put the drain hose into the standpipe (or laundry sink). Turn on the water supply valves, and check for leaks.
NEXT SEE:
How to Buy the Best Washing Machine — 2018
How to Install a Clothes Dryer




 Don Vandervort writes or edits every article at HomeTips. Don has:


