Need to remove old cracked or mildewed silicone caulk? This comprehensive guide provides step-by-step instructions, safety tips, and different removal methods to help you tackle this task like a pro.


Steps To Remove Silicone Caulk
FAQs for Removing Silicone Caulk
References
Silicone caulk seals gaps around tubs, sinks, and counters, preventing water damage and mold growth. But over time, caulk can crack, discolor, or simply wear out. When that happens, it’s time to remove and replace the caulk.
Removing old caulk can be challenging because it adheres strongly. It’s designed to withstand moisture and movement, making it stubborn to remove completely—which is important before replacing it. The good news is that, with the right tools and techniques, you can successfully remove old caulk to prepare the surface for a fresh, clean seal.
This guide will walk you through the entire process, providing step-by-step instructions and helpful tips.
Steps To Remove Silicone Caulk
Removing silicone caulk requires specific tools and removers. To tackle this task, gather the following:
- Chemical caulk remover, hair dryer, rubbing alcohol, or white distilled vinegar: These help soften the caulk and weaken its adhesive bond, making removal easier.
- Caulk remover tool or razor scraper: These tools help lift and scrape away the softened caulk.
- Microfiber cloths: These are useful for wiping away debris and cleaning the surface after caulk removal.
- Utility knife: A utility knife is essential for scoring and cutting through the caulk before removal.
With these tools in hand, you’re ready to begin the caulk removal process. Let’s delve into the steps involved in effectively removing and replacing old silicone caulk.
Step 1: Soften the old silicone caulk
To make caulk removal easier, you can soften it first. Following are a few methods you can use. Always consider the surface the caulk is applied to before choosing a softening method. For delicate surfaces like natural stone, marble, or certain plastics, avoid harsh chemicals and opt for milder methods like a hairdryer or rubbing alcohol.
Chemical caulk remover. Available at hardware stores and home improvement centers, this is specifically designed to soften and break down silicone caulk. Apply it according to the manufacturer’s instructions. Always test it on an inconspicuous area first, as it may damage certain surfaces like delicate tiles or plastics.
Hair dryer. The heat from a hairdryer can effectively soften the caulk. Hold the dryer, set to low heat, close to the caulk for several minutes, moving it back and forth until the caulk becomes pliable. This may not work well on very old or hardened caulk.
Rubbing alcohol or white distilled vinegar. These household items can also soften caulk, although they may take longer than chemical removers or a hairdryer. Soak a cloth or sponge in either liquid and apply it to the caulk, letting it sit for several minutes before attempting removal.
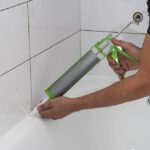
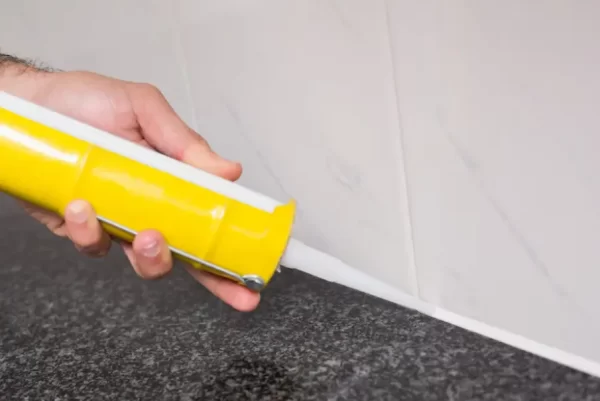
Soften the caulk with chemical remover. Apply the chemical caulk remover all over the caulk bead. Leave it for 15 to 20 minutes or as per the instructions on the product label. Some products might need to be left overnight.
Step 2: Slice along the edges of the caulk
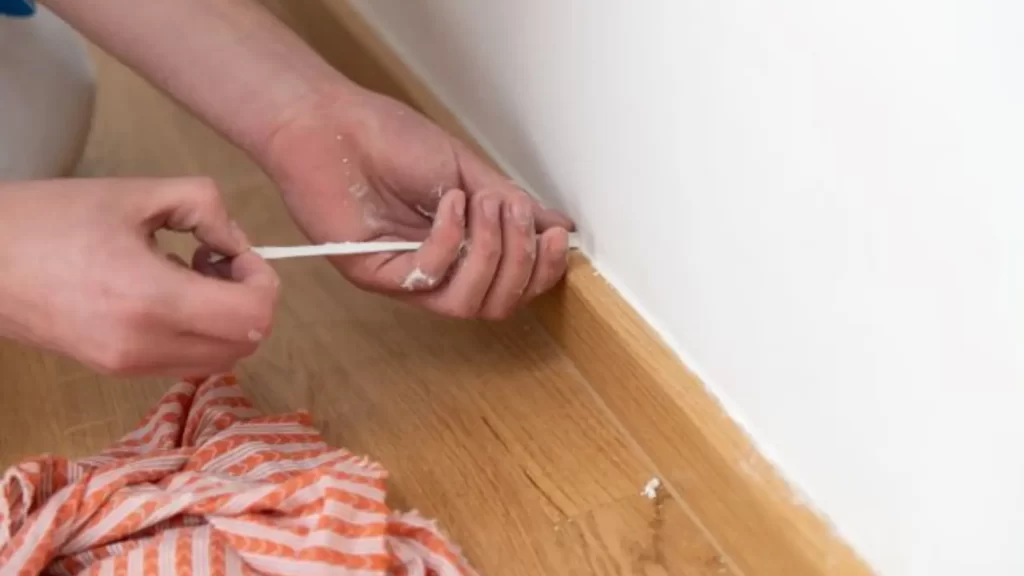
Using the utility knife blade, slice through the edge of the silicone caulk and along the caulk line. Be careful not to scratch the surface material. Then, peel off the caulk. If you have needle-nose pliers, use them to pinch one corner of the silicone caulk bead to peel as you slice.
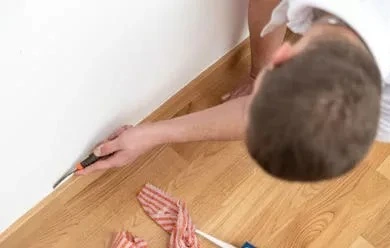
Step 3. Scrape away silicone caulk residue
Using a razor scraper or caulk removal tool, scrape the remaining old caulk off the surface. Angle the blade so it doesn’t damage the surface and work in short strokes.
Step 4: Clean up the surfaces
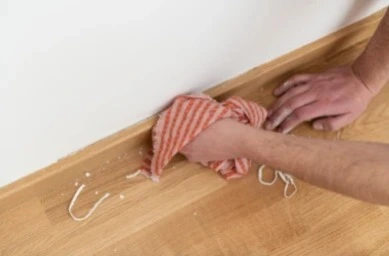
Clean the debris of old caulk off the surfaces (ideally, with the help of shop vac). Then, dampen a clean microfiber cloth in rubbing alcohol and clean the surface with this cloth. Let the surface dry completely. Be sure to clean it entirely—if there is residue from the old caulk, the new caulk won’t stick to the surface smoothly and properly.
FAQs for Removing Silicone Caulk
What is the easiest way to remove silicone caulk?
Using a chemical caulk remover and utility knife or caulk remover tool is a tried-and-tested way to remove caulk easily. The chemical remover softens the silicone caulk, making it easier to scrape off and peel away.
Can I remove silicone caulk without a caulk remover?
Yes, you can soften the silicone caulk using a hair dryer, white distilled vinegar, or rubbing alcohol and then scrape it away, using a utility knife or caulk removal tool.
How do I remove silicone caulk from a bathtub?
The methods explained in this article can be used to remove silicone caulk from a bathtub as well. Just be extra careful while scraping off the caulk to avoid scratches on the tub. You can use a plastic knife or plastic scraper for safety.
Can I use a razor blade to remove the silicone caulk?
Yes, you can use a razor blade to remove silicone caulk, but be especially careful to avoid injury. Wear protective gloves—or, better, use a utility knife or caulk removal tool.