Is your shower head clogged or spraying unevenly? Learn how to easily clean your shower head using simple household ingredients, following step-by-step instructions and troubleshooting tips.


Highlights
- Mineral build up in a shower head reduces the spray.
- Dirty shower heads can give rise to mold and bacteria.
- Deep cleaning shower heads once a month prevents mineral buildup.
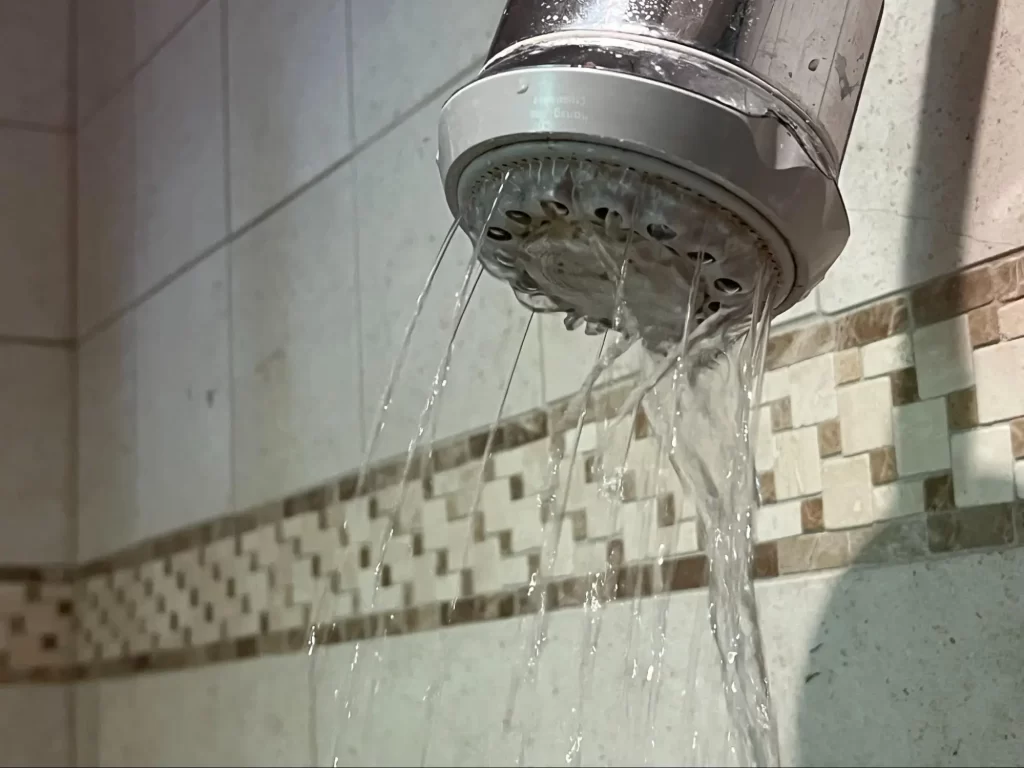
If your once-powerful shower head has been reduced to a sputtering trickle, the problem is likely that it needs a good cleaning. When water flows through a shower head day after day, minerals in the water—like calcium and magnesium—collect and build up inside the shower head’s nozzle and spray holes, and on the surfaces, causing scaly deposits known as “limescale.” This buildup looks messy and significantly impedes the flow of water. In this article, we’ll show you how to deal with this problem.
Why Clean a Shower Head?
Here are 3 good reasons for cleaning your shower head:
- Revive your shower’s power. Mineral buildup reduces water flow, leading to a weaker, less satisfying shower. Cleaning removes these blockages, restoring the full, invigorating spray.
- Eliminate erratic spray. Limescale can clog some nozzles while leaving others open, resulting in an uneven spray pattern. Cleaning ensures a consistent flow of water.
- Protect your health. A neglected shower head can become a breeding ground for bacteria and mold that can cause skin irritation, allergies, or even respiratory issues, particularly for those with compromised immune systems. Regular cleaning helps prevents shower mildew, mold & bacteria as it keeps your shower head hygienic and safe.
When should you clean your shower head? Right away if you notice a significant decrease in water pressure or an uneven spray pattern. A weekly wipe-down with a vinegar solution or spray cleaner can help prevent mineral buildup on the surface. Monthly, a more thorough cleaning is a good idea, as discussed below. To know more about showers, refer to: How a shower works.
How To Clean Shower Head Easily
In most cases, it’s easy to remove a shower head for a thorough cleaning—it just takes a pair of locking jaw pliers or a wrench to unscrew the head from the shower arm (the pipe that holds it). If this sounds like too much hassle or you don’t have the right tools, see the Pro Tip that follows the step-by-step instructions below.
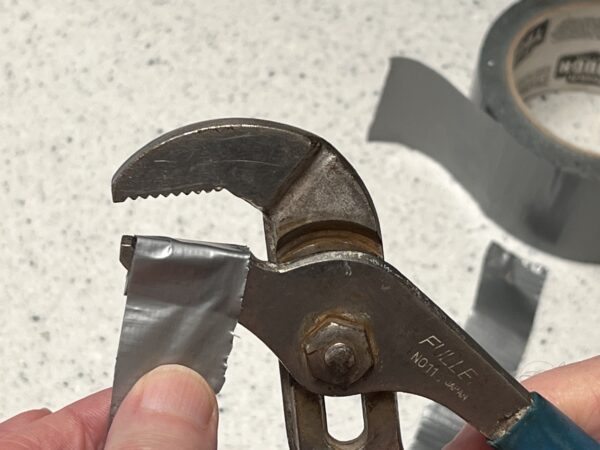
Step 1: To avoid scratching the finish on the shower head, wrap the jaws of locking-jaw (“ChannelLock®”) pliers with strips of duct tape.
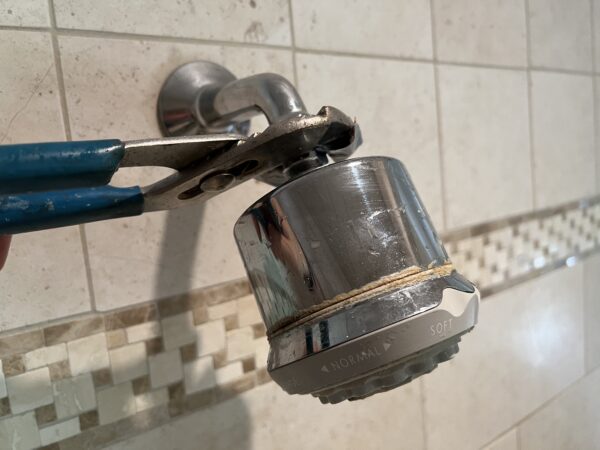
Step 2: Use the pliers to grip the top of the shower head and turn it counterclockwise to unscrew it from the shower arm.
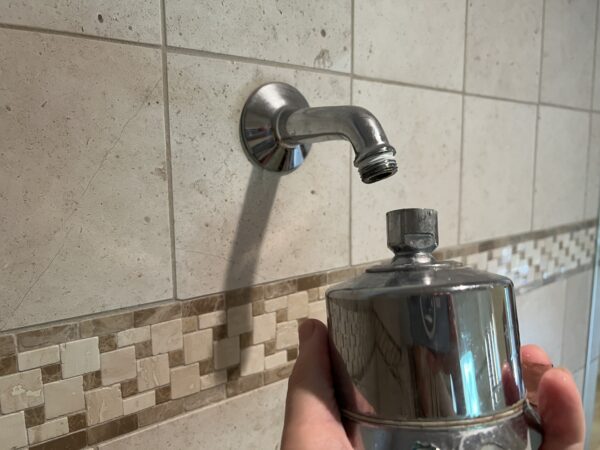
Step 3: Finish unscrewing the shower head by hand, and drain any water out of it.
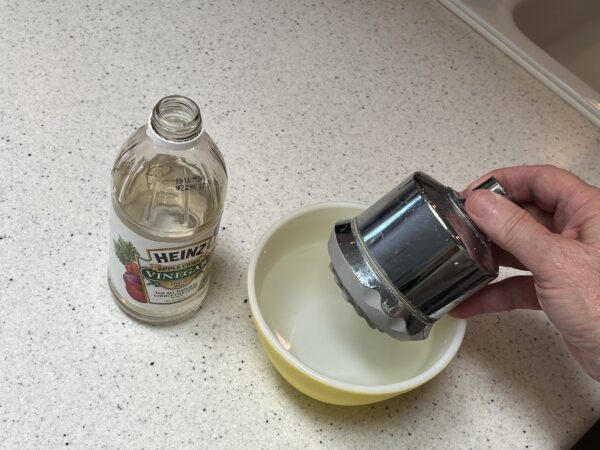
Step 4: Put the shower head into a bowl that’s partially filled with a 50/50 mixture of white vinegar and water. Note: Prolonged or frequent use of undiluted vinegar can dull or damage a chrome, brass, or gold-plated finish over time. It’s best to limit soaking time to 30 minutes or less when cleaning one of these.
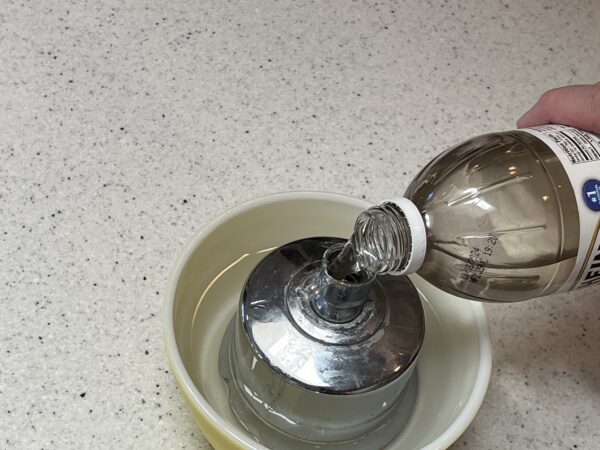
Step 5: Pour additional vinegar into the shower head for extra strength to dissolve minerals inside it.
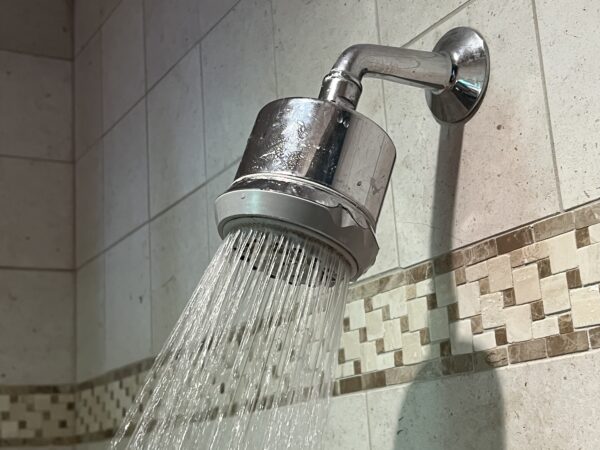
Step 6: Replace the shower head. For a snug seal, first wrap the shower arm threads with Teflon pipe-wrap tape, and then screw the head onto it, turning clockwise. Use the pliers to snug it tight with ¼ turn. Turn on the water and enjoy the spray!
Note: If your shower head is still clogged, remove it and unclog the nozzles using a toothpick. or use an old toothbrush to scrub baking soda on the nozzle. Then flush again.
HomeTips Pro Tip: How to Clean a Shower Head Without Tools
If you don’t have the necessary tools to remove your shower head for cleaning, you can just fill a plastic bag with a 50/50 mixture of water and white vinegar and rubber-band the bag to the shower arm. Allow it to soak overnight or, for a chrome, brass, or gold-plated shower head, to soak for 30 minutes.
Cleaning a Shower Head’s Filter Screen
If your shower head is sputtering or clogged even after trying these deep cleaning methods, it may have a filter screen that needs cleaning (but not all shower heads have these).
If your shower head has a filter screen, you can find it between the shower head and the shower arm (the water pipe sticking out from your shower wall). Here’s how you can clean it yourself:
Step 1: Remove the shower head. Unscrew the shower head as discussed above.
Step 2: Remove debris. Run the shower head under running tap water. Then, flush some warm water into it to remove loose debris.
Step 3: Remove the filter screen. If possible, use needle-nose pliers to remove the filter screen from the nozzle.
Step 4: Clean the screen. Mix 2 tablespoons of vinegar with 2 tablespoons of water. Dip an old toothbrush in the mixture you created and scrub the filter screen until any buildup or dirt is gone.
Step 5: Rinse and return. Rinse the filter screen under running water for 15 to 20 seconds. Then, dry it, reassemble, and screw the shower head back in place.
This was all about cleaning the filter screen of shower heads. If your shower is still not working well or you don’t have enough time for deep cleaning, you can replace it. You can always refer to our guide How to replace shower heads for this purpose.
FAQs for Cleaning Shower Heads
Can I use bleach to clean my shower head?
It’s not recommended to use bleach on your shower head, as it can corrode metal finishes and damage plastic components. Stick to natural cleaning solutions or commercial shower head cleaners.
How do I clean a shower head with hard water buildup?
For hard water buildup, soaking the shower head in a vinegar solution or using a commercial cleaner specifically designed for hard water stains is most effective. You can also try scrubbing with a baking soda paste.
What’s the best way to remove rust from a shower head?
To remove rust, try soaking the shower head in a mixture of equal parts water and lemon juice. If that doesn’t work, you can try a commercial rust remover, but be sure to follow the instructions carefully.
What can I do if my shower head still has low pressure after cleaning?
If your shower head still has low pressure, the flow restrictor might be clogged or the problem could be with your plumbing. Try cleaning the flow restrictor or consult a plumber if the issue persists.
How often should I clean my shower head?
The frequency of cleaning depends on your water hardness and usage. If you have hard water, you may need to clean your shower head every few weeks. With softer water, cleaning once a month or every other month may be sufficient.