With winter right around the corner, it’s time to complete a few home projects that are best handled before the weather turns colder and the days grow shorter—most notably buttoning up your house and getting its heating system working comfortably and efficiently.
Don’t wait too long. When cold weather and short days arrive, you won’t want to discover cold air blowing in through your windows—or out of your heating system.
Nothing instills a sense of urgency like cold drafts or a broken furnace—but that urgency can be expensive and uncomfortable—in fact, an unheated house can be downright deadly in the wrong situation. The longer you wait, the more likely contractors or other service people will be overbooked and will charge a premium for their services.
So here are five things you should handle now, before the weather turns cold.
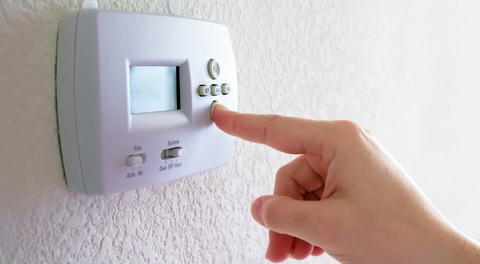
1: Get the heating system in order. A good place to start is your thermostat. Set it to “Heat,” and turn it up to about 5 degrees warmer than room temperature. If the heat doesn’t go on and stay on until the room reaches the set temperature, either the thermostat or the heating system has a problem.
Replace the thermostat’s batteries first, and then try again. If you suspect that the thermostat may be defective, this is a good time to replace it with a new programmable model that can reduce your energy costs. If you know that the thermostat is functional, or replacing it doesn’t do the job, call an HVAC professional to check and service the heating system.
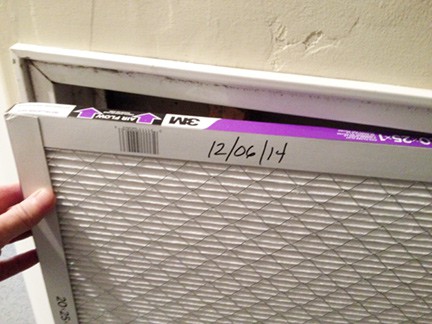
Be sure to change the air filters, which are typically located in the furnace’s air handler or inside the return-air registers in the rooms.
If you’re having a pro work on the system, he or she should do this. Clean filters don’t just mean cleaner air—they also help the system work more efficiently.
When checking on the delivery of warmed air through the registers, make sure dampers or registers were not closed for the summer and that heated air can flow freely into rooms.
If your home’s heating system is powered by fuel that is stored on the premises, such as propane or fuel oil, be sure you have enough fuel for the next month or two.
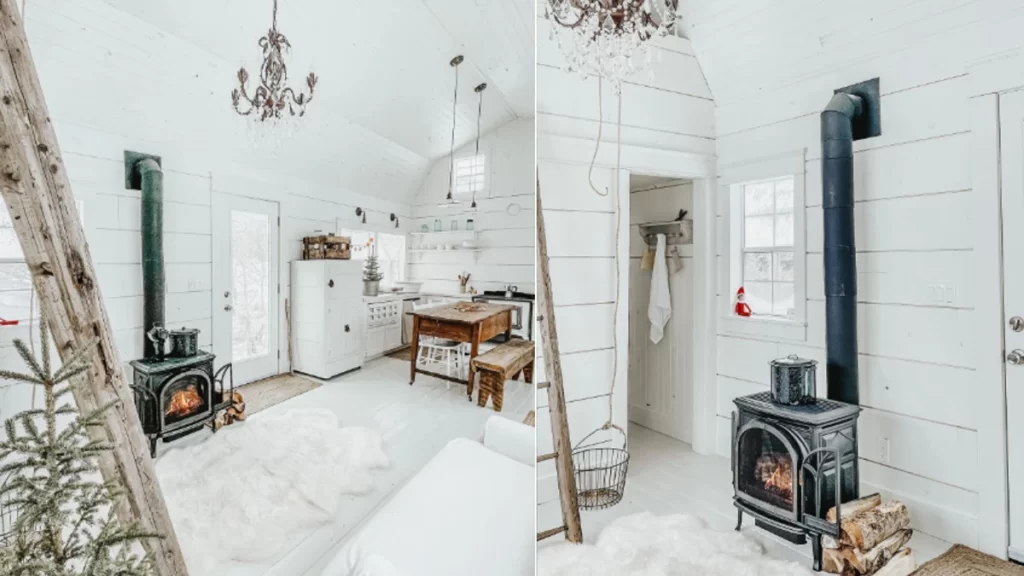
2: Prepare the fireplace. If your home has a wood-burning fireplace that you intend to use regularly, stock-up on firewood and make sure the wood is protected from rain.
Next inspect the fireplace.
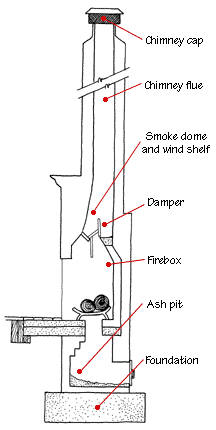
Shine a flashlight up into the chimney from inside the fireplace. Make sure the damper works, and then open it. Check to be sure birds or rodents haven’t nested in the chimney.
Inspect the chimney walls. If they are coated with creosote, a sap-like material that builds-up on surfaces, have the chimney cleaned by a professional chimney sweep—creosote is highly flammable and can cause a chimney fire. Also look for any missing bricks, crumbling mortar or broken chimney flue tiles that need to be fixed.
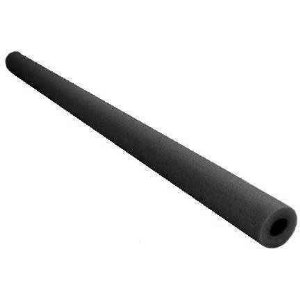
3: Protect water pipes. If you live where outdoor temperatures can drop below freezing, protect water pipes that run through unheated spaces, such as an attic or crawlspace. To do this, you can buy inexpensive foam pipe insulation sleeves at a home improvement center. These are sliced along their lengths so you can just push them onto pipes. While you’re in the plumbing department of the home improvement center, also buy an inexpensive emergency pipe repair clamp to keep on hand just in case a water pipe bursts.
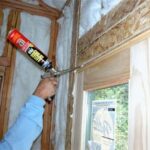
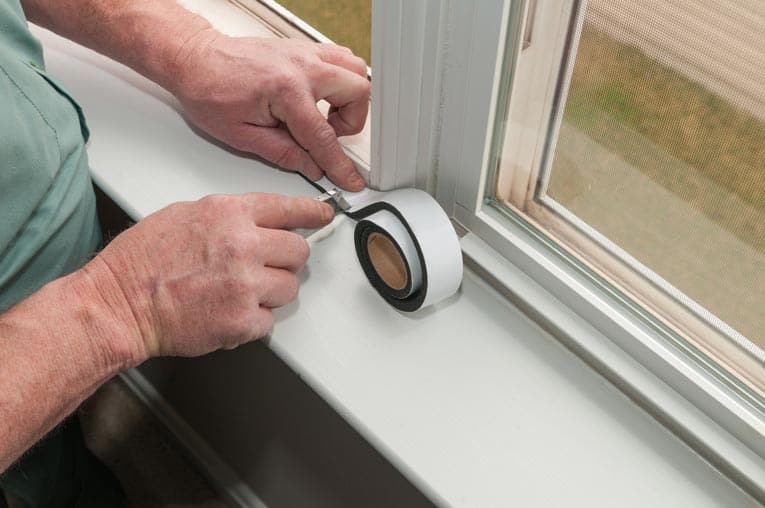
4: Stop drafts. Windows and doors should be weather-stripped to prevent drafts and energy loss. To weather strip windows and doors, you need to keep them open for a while, so it’s best to do this work before the weather gets too cold. If some of your windows and doors are not protected by weather-stripping, now is the time to seal them up. Buy inexpensive vinyl or foam weather-stripping and apply it according to the label directions.
Storm windows and doors can help with minimizing energy loss, too. If you have the kind of screen-and-storm doors that utilize interchangeable screen and glass panels, switch out screens for glass. Before you install the panels, check and tighten the clips that secure them. Also check and, if necessary, adjust the storm door closer so that it pulls the storm door tightly closed without banging it.
5: Flush the water heater. When the weather gets cold, so does the water that travels through outdoor pipes to supply your water heater. As a result, the water heater has to work longer to heat that very cold water. So water heater efficiency becomes really important.
The best way to keep it working efficiently is to flush the water heater once or twice a year. Mineral deposits build up over time and coat the bottom of the tank, reducing the efficient transfer of heat from the burners at the base. Flushing out some of the water helps remove these deposits.
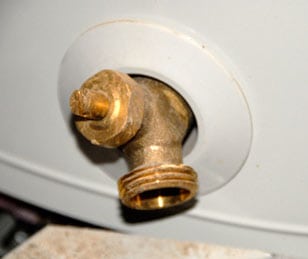
To flush a water heater, turn off the heat, either at the gas valve of a gas water heater or by shutting off an electric water heater’s electrical power. Then turn off the valve at the cold-water inlet pipe, usually right above the water heater. Locate the faucet-like drain valve in the side of the water heater at its base, attach a garden hose to it and run the end of the hose outdoors, terminating at a point that’s lower than the water heater. Turn on a nearby hot water faucet to allow air into the plumbing system, and then open the water heater’s drain valve to flush sediment out through the hose. Drain about 3 or 4 gallons of hot water until it becomes visibly clear, and then close the valve.
Reverse this process to refill and reheat the water heater. In other words, disconnect the hose, turn off the nearby hot water faucet, turn on the water supply to the water heater and wait a few minutes for the water heater to refill. Then, for an electric water heater, turn the power back on, or for a gas water heater, turn on the gas and, unless it is a pilotless model, relight the pilot light.
This article, written by HomeTips’s Don Vandervort, was originally posted by US News.com




 Don Vandervort writes or edits every article at HomeTips. Don has:
